With just a few simple materials and some creativity, you can create dazzling designs that are uniquely yours. Face glitter has become a popular trend in recent years, and for good reason—it’s versatile, eye-catching, and surprisingly easy to apply. From shimmering cheekbones to glittery eyelids, the possibilities are endless. Whether you're a beginner or a seasoned makeup enthusiast, this guide will walk you through everything you need to know about creating your own DIY face glitter looks. Face glitter isn’t just for professionals or special events; it’s a fun and accessible way to express yourself. With the rise of social media platforms like TikTok and Instagram, DIY face glitter tutorials have taken the beauty world by storm. People are sharing their creative designs, inspiring others to try their hand at this glittery trend. Not only is it a budget-friendly alternative to store-bought glitter makeup, but it also allows you to customize your look to match your personality or outfit. Plus, creating your own glitter designs is a fantastic way to bond with friends or family during a DIY beauty session. In this article, we’ll explore everything from the basics of DIY face glitter to advanced techniques for creating show-stopping designs. You’ll learn how to choose the right materials, apply glitter safely, and remove it without damaging your skin. We’ll also answer common questions like “What are the best types of glitter for your face?” and “How can you make your glitter designs last longer?” By the end of this guide, you’ll have all the tools and knowledge you need to rock your own DIY face glitter creations. So grab your supplies, and let’s get sparkling!
Table of Contents
- What is DIY Face Glitter?
- How to Get Started with DIY Face Glitter?
- Choosing the Right Materials for DIY Face Glitter
- Step-by-Step Guide to Applying DIY Face Glitter
- How to Make Your DIY Face Glitter Last Longer?
- Creative DIY Face Glitter Designs to Try
- Is DIY Face Glitter Safe for Your Skin?
- Frequently Asked Questions About DIY Face Glitter
What is DIY Face Glitter?
DIY face glitter refers to the practice of creating and applying glitter makeup at home using materials you can easily find or purchase. Unlike traditional makeup, which often comes in pre-packaged products, DIY face glitter allows you to mix and match colors, textures, and application techniques to suit your personal style. This trend has gained popularity due to its versatility and the ability to create one-of-a-kind looks that stand out.
Face glitter can be used to highlight specific features, such as your cheekbones, eyelids, or even your lips. It’s particularly popular during festivals like Coachella or Halloween, where bold and creative makeup is celebrated. However, it’s not limited to special occasions—many people use DIY face glitter for everyday fun, photoshoots, or themed parties. The key to mastering this trend is understanding the basics, such as choosing the right type of glitter and ensuring it adheres properly to your skin.
Read also:Freddy Couples A Golf Legends Journey To Greatness
One of the main advantages of DIY face glitter is the level of customization it offers. You can experiment with different colors, sizes, and patterns to create designs that reflect your mood or outfit. Whether you want a subtle shimmer or a bold, all-over glitter look, the possibilities are endless. Plus, DIY face glitter is often more affordable than store-bought glitter makeup, making it accessible to everyone.
How to Get Started with DIY Face Glitter?
Getting started with DIY face glitter is easier than you might think. The first step is gathering the right materials. You’ll need cosmetic-grade glitter, which is safe for use on the skin, a glitter adhesive or primer, and tools like brushes or sponges for application. Avoid using craft glitter, as it’s not designed for the face and can cause irritation or damage to your skin.
Once you have your materials, it’s important to prep your skin. Start by cleansing and moisturizing your face to create a smooth canvas for your glitter. If you’re applying glitter to a specific area, like your eyelids, use a primer to help the adhesive stick better. Next, apply a thin layer of glitter adhesive or a sticky base like aloe gel to the area where you want the glitter to go. Use a brush or your fingers to press the glitter onto the adhesive, ensuring it adheres evenly.
What Are the Best Types of Glitter for Your Face?
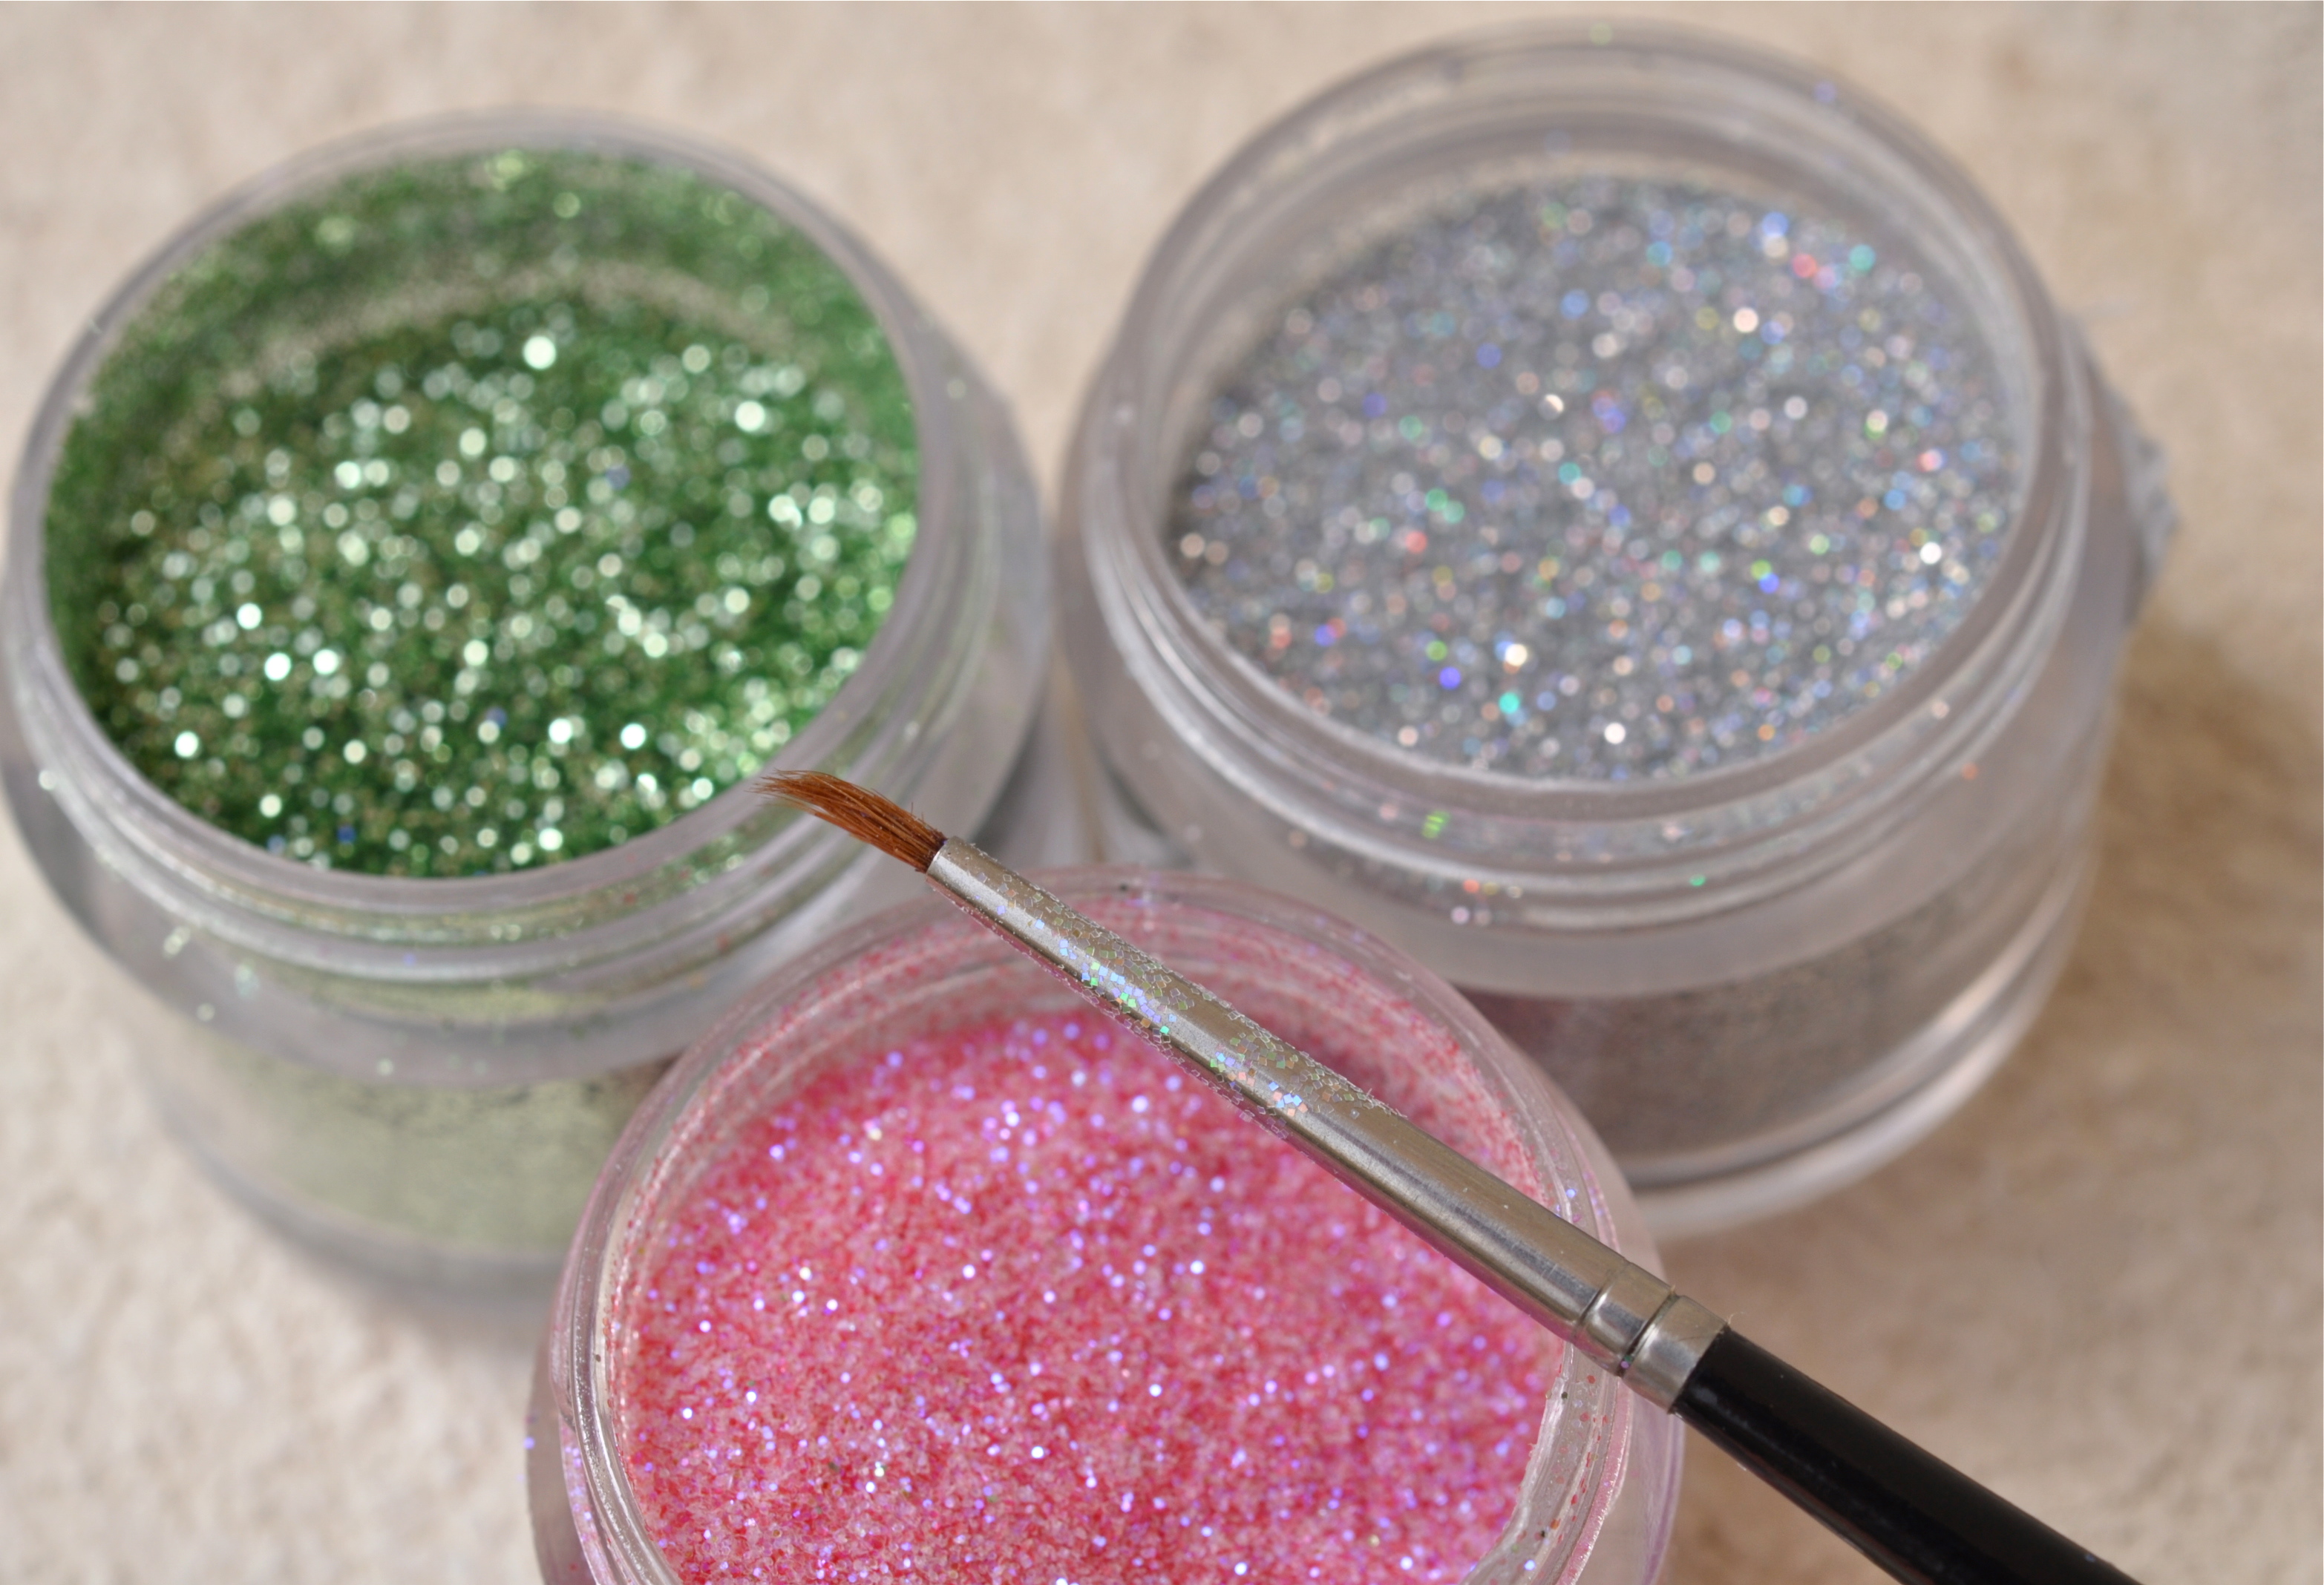
When it comes to DIY face glitter, not all glitter is created equal. Cosmetic-grade glitter is specifically designed for use on the skin and is much safer than craft glitter, which often has sharp edges that can irritate or scratch your skin. Look for glitter that’s labeled as “cosmetic-safe” or “face-safe,” and avoid anything that’s not explicitly intended for use on the face.
There are different types of cosmetic glitter to choose from, including:
- Fine glitter: Perfect for subtle shimmer and highlighting specific areas.
- Chunky glitter: Ideal for bold, eye-catching designs.
- Holographic glitter: Adds a multi-dimensional effect that shifts in the light.
Choosing the Right Materials for DIY Face Glitter
Selecting the right materials is crucial for achieving a flawless DIY face glitter look. In addition to cosmetic-grade glitter, you’ll need a reliable adhesive to keep the glitter in place. Some popular options include glitter glue, aloe vera gel, or even a sticky lip gloss. These products provide a strong hold without irritating your skin.
Read also:Victoria Principal Insights Into Family Life And Her Childrens Journey
It’s also important to consider the tools you’ll use for application. Brushes, sponges, and even your fingers can all be effective, depending on the design you’re aiming for. For precise designs, such as glitter eyeliner or intricate patterns, a fine-tipped brush is your best bet. For larger areas, like your cheeks or forehead, a sponge or your fingers can help you apply the glitter more evenly.
How Do You Choose the Right Colors for Your Skin Tone?
Choosing the right colors for your skin tone can make your DIY face glitter look even more stunning. For fair skin, pastel and metallic shades like silver, gold, and rose gold tend to pop beautifully. Medium skin tones can experiment with warm hues like copper, bronze, and deep pinks. For darker skin tones, bold colors like emerald green, royal blue, and vibrant purples create a striking contrast.
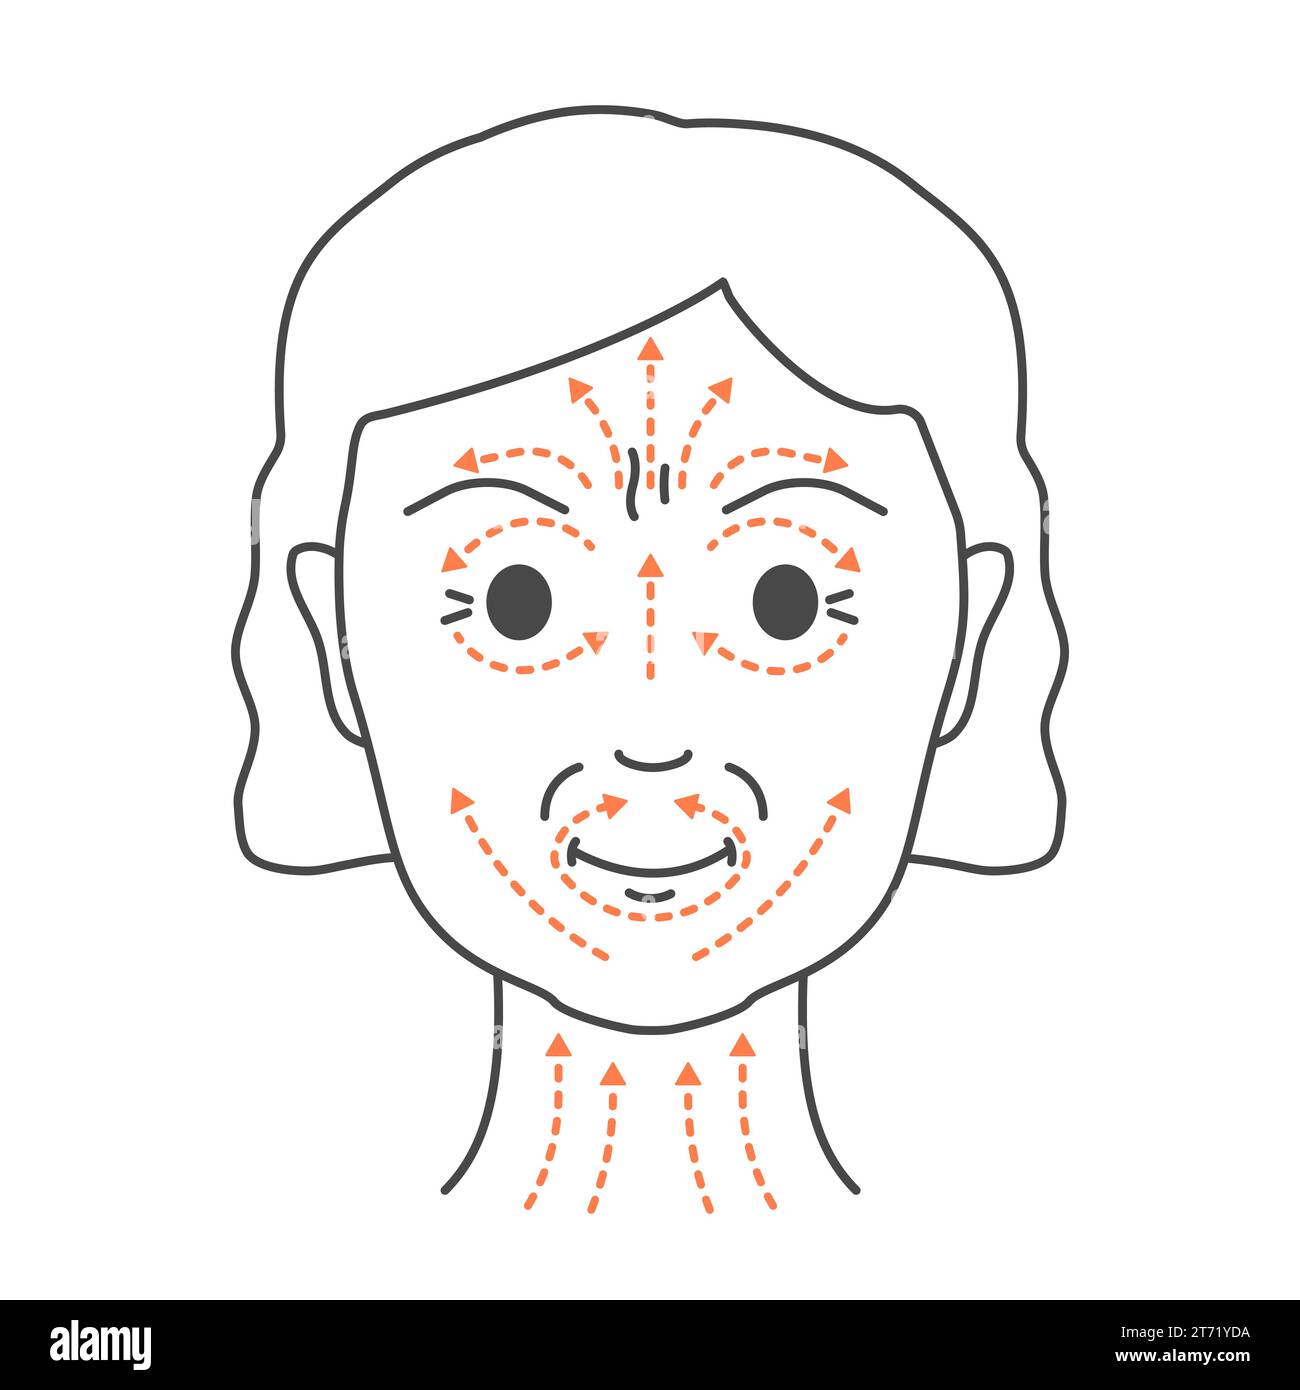
Step-by-Step Guide to Applying DIY Face Glitter
Applying DIY face glitter is a fun and creative process, but it’s important to follow the right steps to achieve the best results. Here’s a step-by-step guide to help you get started:
- Prep your skin: Cleanse and moisturize your face, then apply a primer to the areas where you want the glitter to go.
- Apply adhesive: Use a glitter glue or sticky base to create a strong hold for the glitter.
- Press on the glitter: Use a brush or your fingers to apply the glitter evenly over the adhesive.
- Set the glitter: Gently pat the glitter with a clean brush to ensure it adheres properly.
- Touch up: Add more glitter or adhesive as needed to complete your design.
What Are Some Common Mistakes to Avoid?
When working with DIY face glitter, there are a few common mistakes to watch out for. One of the biggest mistakes is using too much adhesive, which can make your skin feel sticky and uncomfortable. Another is applying glitter without prepping your skin, which can lead to uneven application. Finally, avoid using non-cosmetic glitter, as it can cause irritation or damage to your skin.
How to Make Your DIY Face Glitter Last Longer?
If you want your DIY face glitter to last all day or night, there are a few tricks you can use. Start by using a high-quality adhesive that’s specifically designed for glitter makeup. These products provide a stronger hold and are less likely to smudge or flake off. You can also set your glitter with a setting spray to lock it in place.
Another tip is to avoid touching your face too much, as this can cause the glitter to rub off. If you’re attending an event where you’ll be sweating or exposed to water, consider using a waterproof adhesive to ensure your glitter stays put. Finally, if you notice any areas starting to fade, you can touch them up with a bit more adhesive and glitter.
Creative DIY Face Glitter Designs to Try
Once you’ve mastered the basics of DIY face glitter, it’s time to get creative! There are countless designs you can try, from simple highlights to intricate patterns. Here are a few ideas to inspire you:
- Glitter eyeliner: Create a bold eyeliner look by applying glitter along your lash line.
- Glitter freckles: Add a whimsical touch by applying small dots of glitter to your cheeks.
- Geometric designs: Use tape or stencils to create sharp, geometric patterns on your face.
Is DIY Face Glitter Safe for Your Skin?
DIY face glitter can be safe as long as you use the right materials and follow proper application techniques. Always opt for cosmetic-grade glitter, which is specifically designed for use on the skin. Avoid using craft glitter or glitter that’s not labeled as safe for the face, as it can cause irritation, scratches, or even infections.
It’s also important to remove your glitter properly at the end of the day. Use a gentle makeup remover or micellar water to dissolve the adhesive, then wash your face with a mild cleanser. Avoid scrubbing your skin too harshly, as this can cause irritation or damage.
Frequently Asked Questions About DIY Face Glitter
Can You Use Regular Glue for DIY Face Glitter?
No, regular glue is not safe for use on your skin. Always use a cosmetic-grade adhesive specifically designed for glitter makeup.
How Do You Remove DIY Face Glitter Safely?
To remove DIY face glitter, use a gentle makeup remover or micellar water to dissolve the adhesive, then wash your face with a mild cleanser. Avoid scrubbing too harshly to prevent irritation.
Can DIY Face Glitter Be Used on Sensitive Skin?
Yes, but it’s important to patch-test any new products and use hypoallergenic adhesives and cosmetic-grade glitter to minimize the risk of irritation.
In conclusion, DIY face glitter is a fun and creative way to express yourself and add a touch of sparkle to any occasion. By following the tips and techniques outlined in this guide, you can create stunning designs that are safe, long-lasting, and uniquely yours. So why wait? Grab your supplies and start experimenting with DIY face glitter today!
For more inspiration, check out this external link to a glitter makeup tutorial that showcases some amazing DIY face glitter ideas.