Looking for creative ways to store and transport your delicious homemade cupcakes? DIY cupcake containers are the perfect solution! Whether you're baking for a special occasion or simply want to keep your treats fresh, crafting your own cupcake containers can be both fun and practical. These containers not only protect your baked goods but also allow you to personalize them to match any theme or event. From upcycling household items to designing elegant presentation boxes, the possibilities are endless. With a little creativity, you can make your cupcakes stand out while ensuring they stay fresh and intact.
DIY cupcake containers are an excellent way to reduce waste and save money. Instead of purchasing expensive packaging, you can repurpose materials you already have at home, such as jars, boxes, or even fabric. Not only does this approach align with eco-friendly practices, but it also gives you the freedom to experiment with different styles and designs. Whether you're a seasoned baker or a beginner, creating your own cupcake containers can elevate your baking game and impress your friends and family. Plus, it’s a great way to add a personal touch to your gifts or party favors.
In this article, we’ll explore everything you need to know about DIY cupcake containers. From step-by-step tutorials to innovative ideas, we’ll guide you through the process of crafting functional and stylish containers. You’ll also discover tips for choosing the right materials, designing for different occasions, and ensuring your cupcakes stay fresh during transport. Whether you're planning a birthday party, a holiday celebration, or just want to brighten someone's day, this guide will help you create the perfect DIY cupcake containers for any occasion.
Read also:Discovering John Nettles A Comprehensive Look At His Life And Legacy
Table of Contents
- Why Choose DIY Cupcake Containers?
- How to Make DIY Cupcake Containers?
- Creative Ideas for DIY Cupcake Containers
- Are DIY Cupcake Containers Eco-Friendly?
- How to Ensure Freshness in DIY Cupcake Containers?
- What Are the Best Materials for DIY Cupcake Containers?
- Tips for Personalizing Your DIY Cupcake Containers
- FAQs About DIY Cupcake Containers
Why Choose DIY Cupcake Containers?
DIY cupcake containers offer a range of benefits that make them a superior choice compared to store-bought options. First and foremost, they allow for complete customization. Whether you’re preparing for a themed party, a wedding, or a casual gathering, you can tailor your containers to match the occasion perfectly. This level of personalization not only enhances the presentation but also adds a thoughtful touch that store-bought packaging simply can’t replicate.
Another compelling reason to opt for DIY cupcake containers is cost-effectiveness. Store-bought packaging can be expensive, especially if you’re baking in bulk or organizing a large event. By using materials you already have at home, such as mason jars, cardboard boxes, or fabric scraps, you can significantly cut down on costs. This is particularly beneficial for those who bake frequently or run small home-based businesses.
Finally, DIY cupcake containers are an environmentally friendly option. By repurposing items that might otherwise end up in the trash, you’re contributing to a more sustainable lifestyle. This approach reduces waste and minimizes your carbon footprint, making it a win-win for both you and the planet. Plus, eco-conscious recipients are sure to appreciate the effort you’ve put into creating sustainable packaging.
How to Make DIY Cupcake Containers?
Materials You Need
Before you begin crafting your DIY cupcake containers, it’s essential to gather the right materials. The good news is that most of these items are readily available at home or can be purchased inexpensively. Here’s a list of common materials you might need:
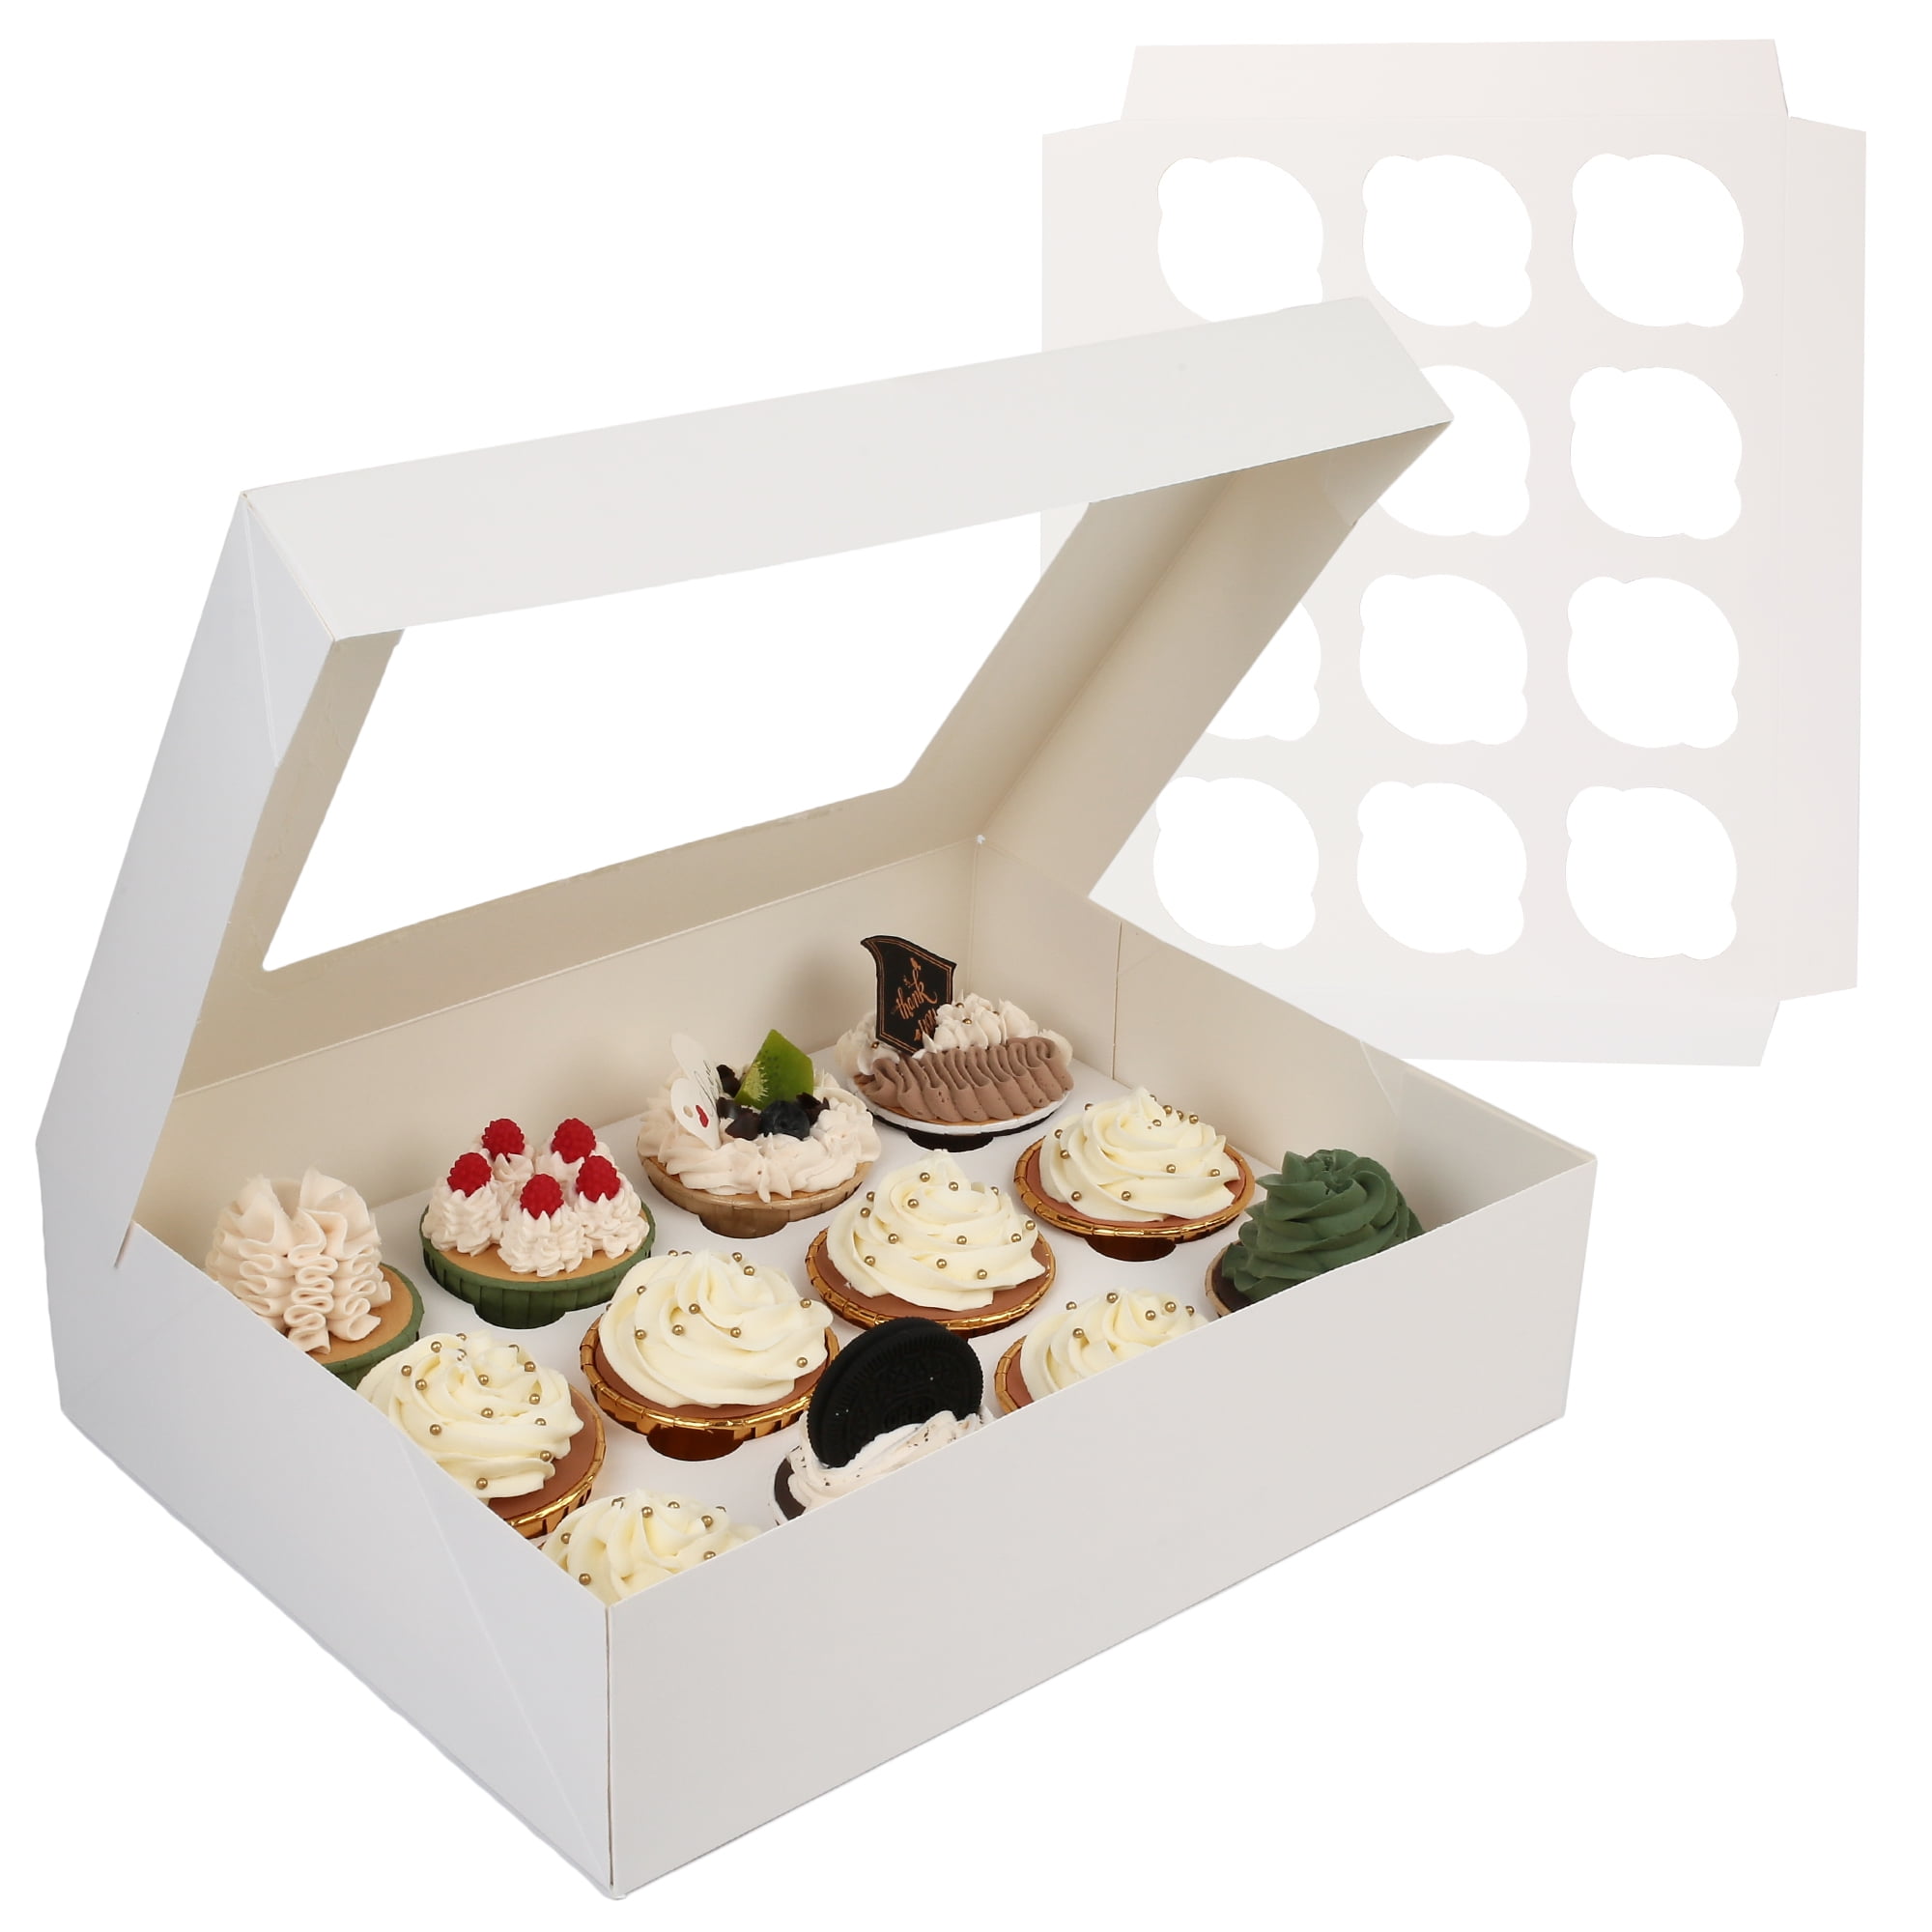
- Cardboard or sturdy paper: Perfect for creating box-style containers.
- Mason jars or glass containers: Ideal for individual cupcake storage.
- Fabric scraps: Great for wrapping or decorating your containers.
- Ribbon, twine, or decorative tape: Adds a finishing touch to your designs.
- Scissors, glue, and a ruler: Basic tools for cutting and assembling your containers.
Depending on the design you choose, you may also need additional items such as cupcake liners, foam inserts, or even recycled plastic containers. The key is to select materials that are sturdy enough to protect your cupcakes while being easy to work with.
Step-by-Step Guide
Creating DIY cupcake containers is easier than you might think. Follow these simple steps to craft your own:
Read also:Sphynx Cat Lifespan Everything You Need To Know
- Choose Your Design: Decide whether you want a box, jar, or wrapped container. Each design has its own unique charm and functionality.
- Measure and Cut: Use a ruler to measure the dimensions of your cupcakes and cut your chosen material accordingly. For box-style containers, ensure the base is wide enough to hold the cupcakes securely.
- Assemble the Base: If you’re making a box, fold and glue the edges to create a sturdy structure. For jars, line the bottom with a soft material like foam to prevent the cupcakes from sliding.
- Add Decorative Elements: Use ribbon, fabric, or decorative tape to embellish your containers. This step is where you can let your creativity shine!
- Test for Stability: Place your cupcakes inside the container to ensure they fit snugly and won’t tip over during transport.
With these steps, you’ll have functional and stylish DIY cupcake containers ready in no time!
Creative Ideas for DIY Cupcake Containers
When it comes to DIY cupcake containers, the sky’s the limit in terms of creativity. Here are some innovative ideas to inspire your next project:
- Mason Jar Containers: Use mason jars to create individual cupcake holders. Add a decorative label or ribbon for a rustic touch.
- Upcycled Shoeboxes: Transform an old shoebox into a cupcake carrier by lining it with fabric or decorative paper.
- Fabric Wraps: Wrap your cupcakes in fabric and tie them with twine for a charming, eco-friendly option.
- Mini Gift Boxes: Craft small gift boxes with foam inserts to hold each cupcake securely.
- Recycled Plastic Containers: Repurpose takeout containers by adding cupcake liners and decorative elements.
These ideas not only showcase your creativity but also demonstrate how versatile DIY cupcake containers can be.
Are DIY Cupcake Containers Eco-Friendly?
Yes, DIY cupcake containers are an excellent eco-friendly alternative to traditional packaging. By repurposing materials like cardboard, glass jars, and fabric, you’re reducing the demand for single-use plastics and minimizing waste. This approach aligns with the growing global movement toward sustainability and environmental responsibility.
Moreover, DIY containers often have a longer lifespan than disposable packaging. For instance, mason jars can be reused for storage, while fabric wraps can be washed and reused multiple times. This not only benefits the environment but also saves you money in the long run.
How to Ensure Freshness in DIY Cupcake Containers?
One of the main concerns with DIY cupcake containers is ensuring your cupcakes stay fresh. Here are some tips to help you maintain freshness:
- Use Airtight Seals: If you’re using jars or boxes, ensure they have a tight seal to prevent air from entering.
- Add a Layer of Protection: Place cupcake liners or parchment paper inside the container to absorb excess moisture.
- Store in a Cool, Dry Place: Avoid leaving your containers in direct sunlight or warm areas, as this can cause the cupcakes to spoil faster.
- Use Fresh Ingredients: Start with high-quality ingredients to ensure your cupcakes stay fresh longer.
What Are the Best Materials for DIY Cupcake Containers?
Choosing the right materials is crucial for creating effective DIY cupcake containers. Some of the best options include:
- Cardboard: Lightweight and easy to work with, cardboard is perfect for box-style containers.
- Glass Jars: Ideal for individual storage, glass jars are both reusable and visually appealing.
- Fabric: Soft and flexible, fabric is great for wrapping or lining containers.
- Recycled Plastic: Durable and waterproof, recycled plastic containers are a practical choice.
Tips for Personalizing Your DIY Cupcake Containers
Personalizing your DIY cupcake containers can make them truly unique. Here are some tips to get you started:
- Use Custom Labels: Print or handwrite labels with names, dates, or special messages.
- Incorporate Themes: Match your containers to the occasion, whether it’s a holiday, birthday, or wedding.
- Add Embellishments: Use stickers, sequins, or glitter to enhance the design.
FAQs About DIY Cupcake Containers
How Long Do Cupcakes Stay Fresh in DIY Containers?
Cupcakes can stay fresh in DIY containers for up to 2-3 days if stored properly. Ensure the container is airtight and kept in a cool, dry place.
Can I Use DIY Containers for Other Desserts?
Absolutely! DIY containers are versatile and can be used for cookies, muffins, or even small pies.
Where Can I Find Inspiration for DIY Cupcake Containers?
You can find inspiration on platforms like Pinterest or Instagram, where countless creative ideas are shared by baking enthusiasts.
Explore more ideas on Pinterest.
Conclusion
DIY cupcake containers are a fun, practical, and eco-friendly way to store and transport your baked goods. By following the tips and ideas outlined in this article, you can create containers that are both functional and visually appealing. Whether you’re baking for a special occasion or simply want to reduce waste, DIY cupcake containers are a fantastic solution. So, roll up your sleeves, gather your materials, and let your creativity shine!