Building a DIY plyo wall is a game-changer for fitness enthusiasts looking to elevate their home workouts. A plyo wall, also known as a plyometric wall, is a versatile and functional piece of equipment designed to enhance exercises like box jumps, wall balls, and agility drills. Not only does it save space, but it also provides a durable and customizable solution for achieving your fitness goals. With the right materials and a bit of effort, you can craft your own plyo wall tailored to your specific needs.
Whether you're a beginner or a seasoned athlete, a DIY plyo wall can be a valuable addition to your home gym. It offers a cost-effective alternative to purchasing expensive fitness equipment, and the process of building it yourself allows you to customize its height, width, and design. Plus, constructing your own fitness gear can be a rewarding experience that boosts your confidence and connection to your workout space.
In this comprehensive guide, we’ll walk you through everything you need to know about building a DIY plyo wall. From understanding its benefits to step-by-step instructions and safety tips, this article will equip you with the knowledge to create a functional and durable plyo wall. Let’s dive in and explore how this innovative fitness tool can transform your home workouts!
Read also:Discover The Ultimate Luxury What Makes 7star Bar So Special
Table of Contents
- What is a DIY Plyo Wall and Why Should You Build One?
- What Are the Benefits of Using a DIY Plyo Wall?
- What Materials and Tools Do You Need to Build a DIY Plyo Wall?
- How to Build a DIY Plyo Wall: Step-by-Step Guide
- Can You Customize Your DIY Plyo Wall for Specific Workouts?
- What Safety Precautions Should You Take When Using a DIY Plyo Wall?
- What Are the Common Mistakes to Avoid When Building a DIY Plyo Wall?
- How to Maintain Your DIY Plyo Wall for Longevity
What is a DIY Plyo Wall and Why Should You Build One?
A DIY plyo wall is a custom-built structure designed to support plyometric exercises, which involve explosive movements like jumping, throwing, and sprinting. These walls are typically constructed using sturdy materials like plywood, metal brackets, and foam padding to ensure durability and safety. The primary purpose of a plyo wall is to provide a stable surface for exercises such as box jumps, wall balls, and agility drills, making it an essential tool for athletes and fitness enthusiasts.
Building your own plyo wall offers several advantages. First, it allows you to customize the dimensions and features to suit your workout preferences. For instance, you can adjust the height to accommodate different exercises or add padding for comfort and safety. Additionally, creating a DIY plyo wall is often more affordable than purchasing a pre-made fitness wall, making it an excellent option for those on a budget.
Moreover, the process of building a DIY plyo wall can be a fulfilling project that enhances your connection to your fitness routine. It gives you a sense of accomplishment and pride, knowing that you’ve created something functional with your own hands. This personal touch can motivate you to use the wall more frequently, ultimately helping you achieve your fitness goals faster.
What Are the Benefits of Using a DIY Plyo Wall?
Using a DIY plyo wall in your home gym offers a wide range of benefits that can significantly enhance your fitness routine. First and foremost, it provides a versatile platform for a variety of exercises. From box jumps to wall balls, the plyo wall supports dynamic movements that improve strength, agility, and cardiovascular endurance. This versatility makes it a valuable addition to any workout space.
Another key benefit is the ability to save space. Unlike bulky gym equipment, a DIY plyo wall is compact and can be installed against a wall, leaving plenty of room for other activities. This makes it an ideal solution for those with limited space in their homes. Additionally, the wall’s vertical design allows you to perform exercises that target different muscle groups, ensuring a full-body workout.
Finally, a DIY plyo wall can be customized to meet your specific fitness needs. Whether you’re a beginner looking for a low-impact workout or an advanced athlete seeking to push your limits, you can adjust the wall’s height, padding, and design to suit your goals. This level of customization ensures that your plyo wall remains a relevant and effective tool as your fitness journey progresses.
Read also:Marlon Jackson Date Of Birth Unveiling The Life Of A Legendary Artist
What Materials and Tools Do You Need to Build a DIY Plyo Wall?
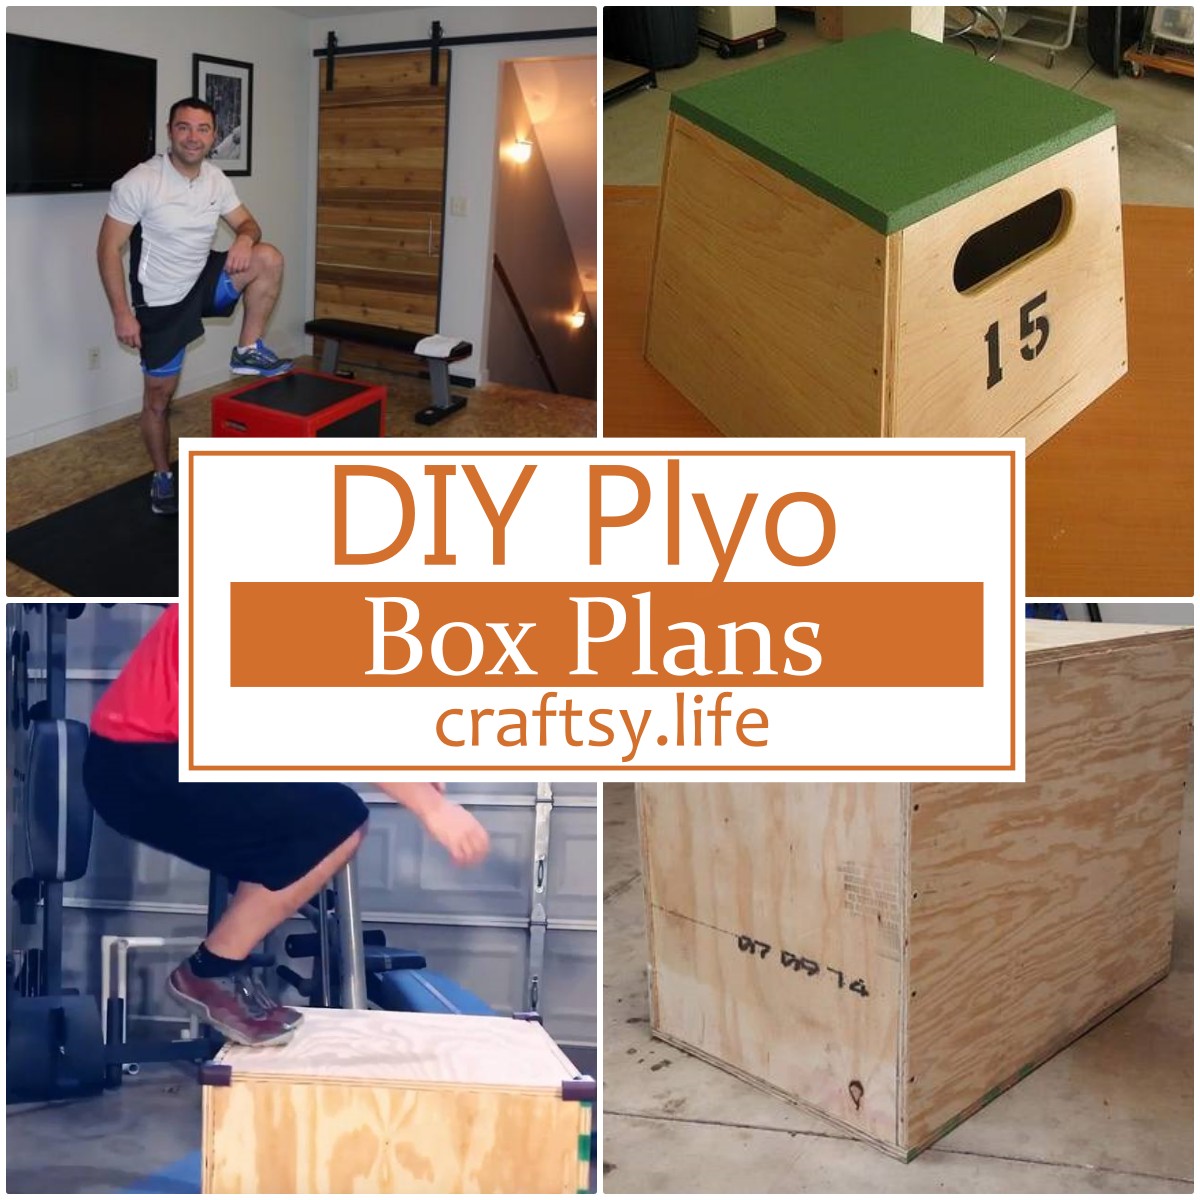
To build a sturdy and functional DIY plyo wall, you’ll need a variety of materials and tools. The exact list may vary depending on your design preferences, but here’s a general overview of what you’ll need:
- Materials:
- Plywood sheets (3/4 inch thickness recommended)
- Wooden studs or metal brackets for the frame
- Foam padding or gym mats for safety
- Screws and nails for assembly
- Sandpaper to smooth rough edges
- Paint or sealant for a polished finish
- Tools:
- Circular saw or handsaw for cutting materials
- Drill and screwdriver for assembly
- Measuring tape for precise dimensions
- Level to ensure the wall is even
- Safety gear, including gloves and goggles
Before starting the project, ensure you have all the necessary materials and tools on hand. This preparation will help you complete the build efficiently and avoid unnecessary delays. Additionally, consider purchasing high-quality materials to ensure the durability and safety of your DIY plyo wall.
How to Build a DIY Plyo Wall: Step-by-Step Guide
Step 1: Planning and Measurements
The first step in building your DIY plyo wall is to plan and measure the space where you’ll install it. Start by determining the ideal height and width for your wall based on your fitness goals and available space. For example, a standard height for box jumps is around 24 to 36 inches, but you can adjust this based on your preferences.
Once you’ve decided on the dimensions, sketch a simple design or blueprint of the wall. This will serve as a guide during the construction process and help you visualize the final product. Be sure to include details like the placement of screws, brackets, and padding in your design.
Step 2: Cutting and Assembling the Frame
With your measurements and design in hand, it’s time to cut and assemble the frame of your DIY plyo wall. Begin by cutting the plywood sheets to the desired size using a circular saw or handsaw. Ensure the edges are smooth and even to prevent any injuries during use.
Next, construct the frame using wooden studs or metal brackets. Secure the pieces together with screws, ensuring the structure is sturdy and level. Once the frame is complete, attach the plywood sheets to the front and sides, reinforcing them with additional screws for added stability. Finally, add foam padding or gym mats to the surface for safety and comfort.
Can You Customize Your DIY Plyo Wall for Specific Workouts?
One of the greatest advantages of building a DIY plyo wall is the ability to customize it for specific workouts. Whether you’re focusing on strength training, agility drills, or cardio exercises, there are several ways to tailor your wall to meet your fitness needs.
For strength training, consider adding resistance bands or hooks to the wall. These can be used for exercises like pull-ups or resistance band squats, providing an additional challenge to your routine. You can also incorporate adjustable platforms or steps to vary the height of your box jumps.
If agility is your focus, consider adding targets or markers to the wall. These can be used for drills like wall ball throws or reaction time exercises, helping you improve your speed and coordination. Finally, for cardio workouts, ensure the wall is padded and sturdy enough to support high-impact movements like jumping and sprinting.
What Safety Precautions Should You Take When Using a DIY Plyo Wall?
While a DIY plyo wall is an excellent addition to your home gym, it’s essential to prioritize safety when using it. Here are some tips to ensure a safe and effective workout:
- Always inspect the wall before use to ensure it’s secure and free of damage.
- Wear appropriate footwear with good grip to prevent slips and falls.
- Use foam padding or gym mats to cushion the surface and reduce the risk of injury.
- Start with low-impact exercises and gradually increase intensity as you become more comfortable.
- Ensure the area around the wall is clear of obstacles to avoid accidents.
By following these safety precautions, you can enjoy a productive and injury-free workout with your DIY plyo wall.
What Are the Common Mistakes to Avoid When Building a DIY Plyo Wall?
While building a DIY plyo wall is a rewarding project, there are some common mistakes that beginners often make. Avoiding these pitfalls will ensure your wall is safe, functional, and long-lasting.
One common mistake is using low-quality materials. While it may be tempting to cut costs, investing in sturdy plywood and durable brackets is essential for safety. Another mistake is skipping the padding, which can lead to injuries during high-impact exercises. Always prioritize comfort and safety when designing your wall.
Finally, failing to measure accurately can result in an unstable or uneven structure. Take your time during the planning and construction phases to ensure precision and stability. By avoiding these mistakes, you can create a DIY plyo wall that meets your fitness needs and stands the test of time.
How to Maintain Your DIY Plyo Wall for Longevity
Proper maintenance is key to ensuring your DIY plyo wall remains in excellent condition for years to come. Start by regularly inspecting the structure for signs of wear and tear, such as loose screws or cracks in the plywood. Address any issues promptly to prevent further damage.
Clean the wall regularly to remove dust, dirt, and sweat buildup. Use a mild soap and water solution to wipe down the surface, and avoid harsh chemicals that could damage the materials. Additionally, consider applying a fresh coat of paint or sealant every few years to protect the wall from moisture and wear.
Finally, store any accessories like resistance bands or markers in a dry, secure location to prevent damage. By following these maintenance tips, you can extend the lifespan of your DIY plyo wall and continue to enjoy its benefits for years to come.
FAQs
What is the best material for building a DIY plyo wall?
The best material for a DIY plyo wall is 3/4-inch plywood, as it provides the perfect balance of durability and flexibility. Pair it with sturdy wooden studs or metal brackets for added stability.
How much does it cost to build a DIY plyo wall?
The cost of building a DIY plyo wall varies depending on the materials and tools you use. On average, you can expect to spend between $100 and $300, making it a cost-effective alternative to pre-made fitness walls.
Can a DIY plyo wall be used outdoors?
While a DIY plyo wall can be used outdoors, it’s important to use weather-resistant materials like treated plywood and rust-proof brackets to ensure durability in outdoor conditions.
Conclusion
Building a DIY plyo wall is an excellent way to enhance your home gym and take your workouts to the next level. With its versatility, space-saving design, and customization options, this innovative fitness tool offers countless benefits for athletes and fitness enthusiasts alike. By following the steps and tips outlined in this guide, you can create a durable and functional plyo wall that meets your specific needs.
Remember to prioritize safety, maintain your wall regularly, and avoid common mistakes during the construction process. With a little effort and creativity, your DIY plyo wall can become a cornerstone of your fitness routine,