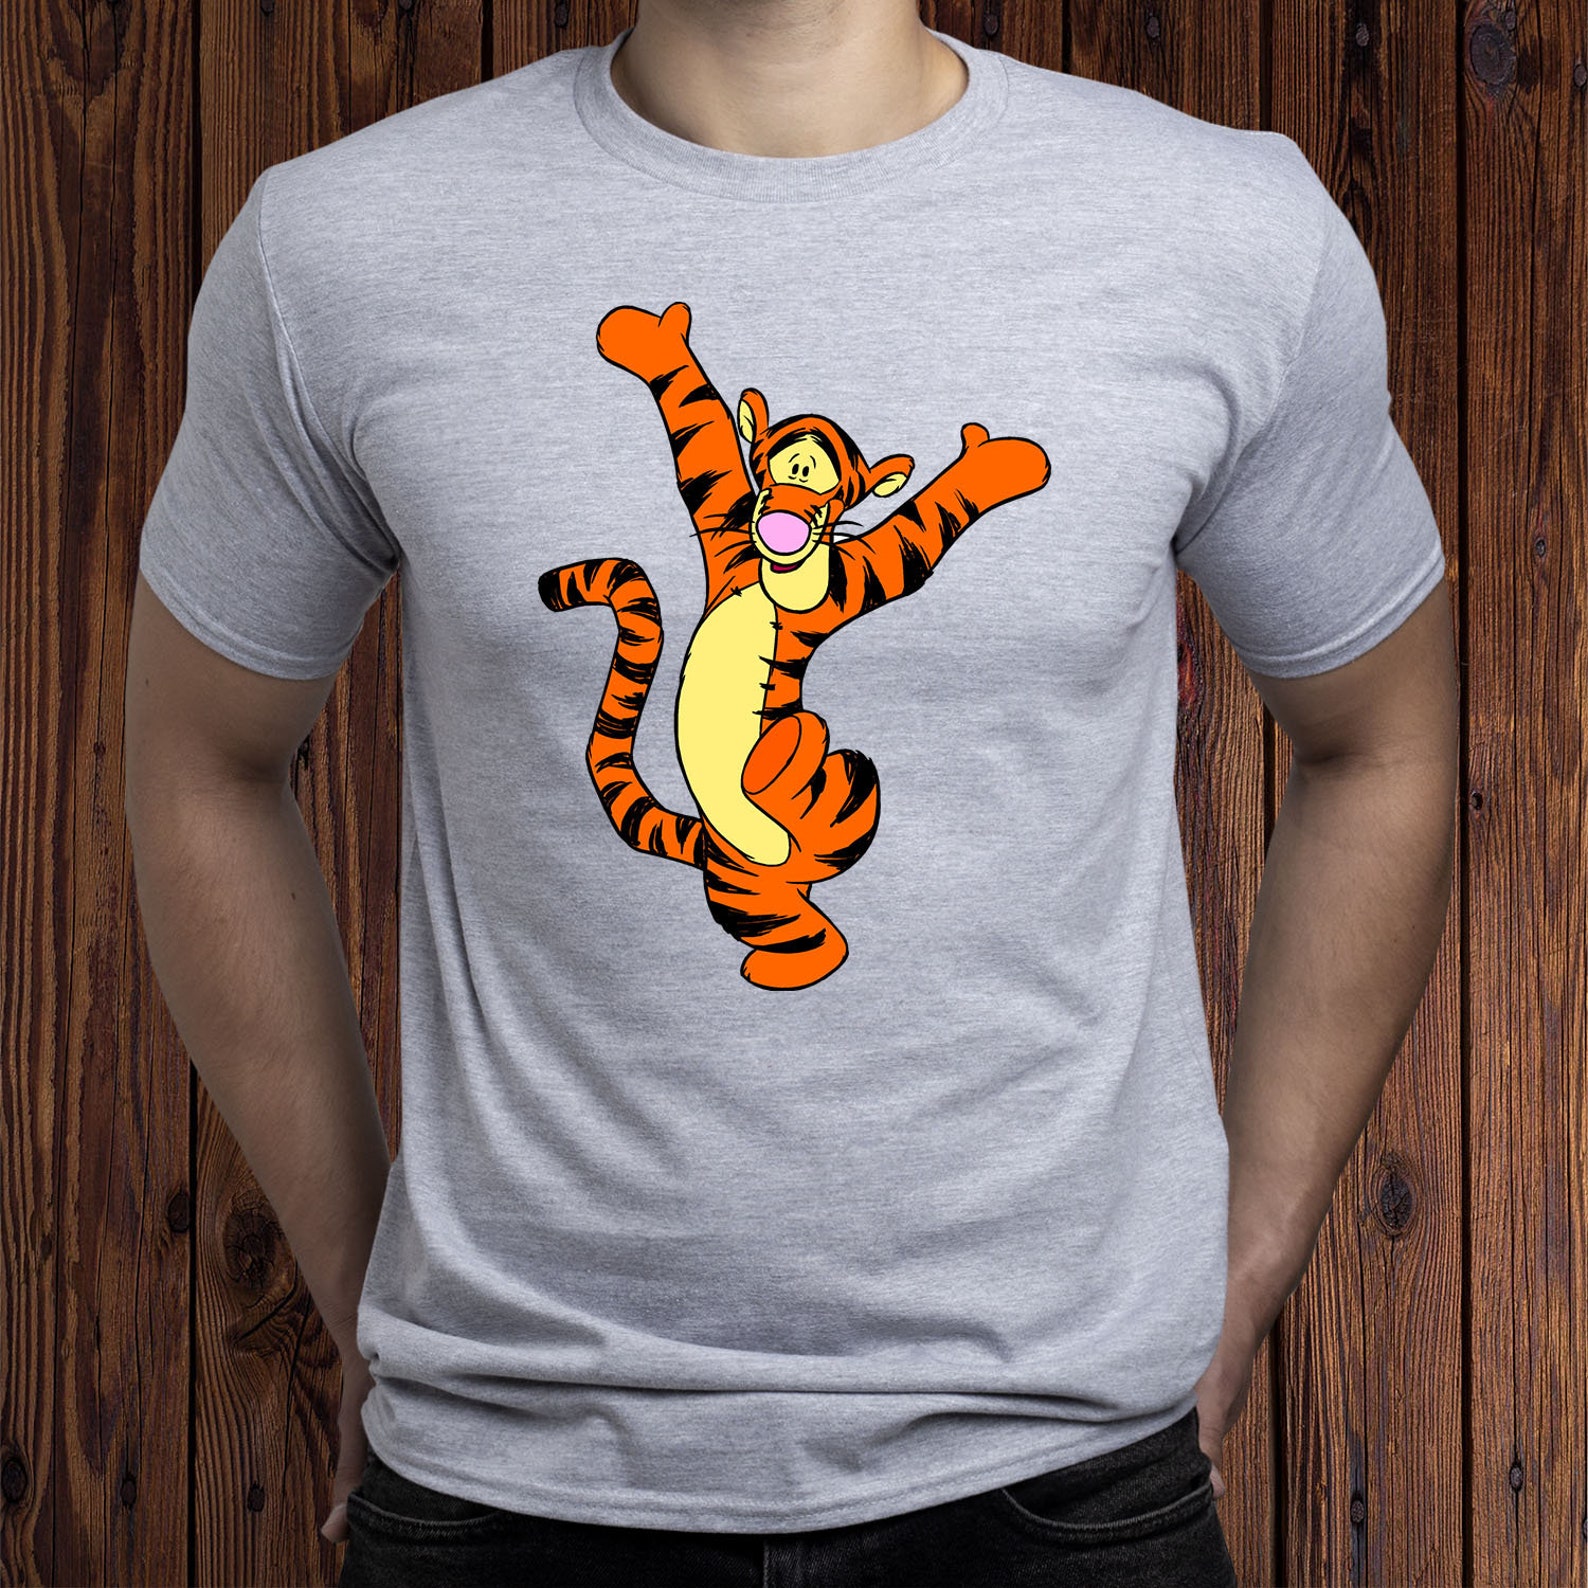
Imagine transforming an ordinary shirt into a vibrant, personalized DIY Tigger shirt that captures the playful spirit of everyone’s favorite bouncy tiger from the Hundred Acre Wood. Whether you’re a fan of Tigger or simply looking for a creative project to brighten your wardrobe, this guide will walk you through everything you need to know to make your own DIY Tigger shirt. From selecting the right materials to mastering the design process, this article ensures you have all the tools and tips to bring your vision to life. Not only is this project fun, but it’s also a fantastic way to express your creativity while crafting something truly unique.
Creating a DIY Tigger shirt is more than just a fun activity—it’s an opportunity to connect with your inner child and relive the joy of Tigger’s boundless energy. Whether you’re designing it for yourself, a friend, or a loved one, the process is simple, rewarding, and perfect for crafters of all skill levels. With a few basic supplies and some imagination, you can create a wearable piece of art that celebrates your love for Tigger and his cheerful personality. Plus, it’s a budget-friendly way to add a touch of whimsy to your wardrobe.
But where do you start, and what techniques should you use to ensure your DIY Tigger shirt turns out just right? This article dives deep into the step-by-step process, offering expert advice, creative ideas, and troubleshooting tips to help you succeed. Whether you’re a seasoned crafter or a beginner, you’ll find everything you need to know to design a Tigger shirt that’s as unique as you are. Let’s explore the wonderful world of DIY Tigger shirts and unleash your creativity!
Read also:Kim Jones Husband A Closer Look At The Life And Career Of The Fashion Icons Partner
Table of Contents
- Why Create a DIY Tigger Shirt?
- What Materials Do You Need for a DIY Tigger Shirt?
- How to Design Your DIY Tigger Shirt?
- Step-by-Step Guide to Making Your DIY Tigger Shirt
- What Are the Best Techniques for a Professional Finish?
- Can You Customize Your DIY Tigger Shirt for Different Occasions?
- How to Care for Your DIY Tigger Shirt?
- Frequently Asked Questions About DIY Tigger Shirts
Why Create a DIY Tigger Shirt?
Creating a DIY Tigger shirt is not just about fashion—it’s about celebrating creativity, nostalgia, and individuality. Tigger, with his infectious enthusiasm and bouncy personality, has been a beloved character for generations. By designing your own Tigger shirt, you’re not only paying homage to this iconic figure but also crafting a piece of clothing that reflects your personal style and creativity. This project is perfect for fans of all ages, whether you’re a parent looking for a fun activity to do with your kids or an adult seeking a unique way to express your love for Tigger.
One of the biggest advantages of making your own DIY Tigger shirt is the ability to customize it to your liking. Unlike store-bought designs, which may not always align with your vision, a DIY project allows you to choose every detail—from the color of the shirt to the style of Tigger’s stripes. Whether you want a minimalist design or a bold, eye-catching piece, the possibilities are endless. Plus, the sense of accomplishment you’ll feel when wearing or gifting your creation is unmatched.
Another reason to try your hand at a DIY Tigger shirt is the opportunity to bond with others. Crafting can be a social activity, bringing friends and family together for a fun and creative session. Whether you’re hosting a crafting party or working on the project solo, the process is sure to spark joy and inspire creativity. So why not give it a try? With a little effort and imagination, you can create a Tigger shirt that’s as unique and vibrant as the character himself.
What Materials Do You Need for a DIY Tigger Shirt?
Before diving into the creative process, it’s essential to gather all the necessary materials for your DIY Tigger shirt. Having the right tools and supplies on hand will make the project smoother and ensure professional-looking results. Here’s a comprehensive list of what you’ll need:
- Plain Shirt: Start with a high-quality, blank shirt in your preferred color. While white is a classic choice, you can opt for other colors to match your style.
- Fabric Paint or Markers: These are essential for adding Tigger’s iconic stripes and details. Look for fabric-specific products that are durable and washable.
- Stencils or Templates: If you’re not confident in freehand drawing, stencils can help you achieve clean, precise lines.
- Brushes and Sponges: Use a variety of brushes for different strokes and sponges for blending colors.
- Iron-On Transfers: For those who prefer a no-paint approach, iron-on transfers are a great alternative.
- Heat Gun or Iron: These tools are crucial for setting the design and ensuring it lasts through multiple washes.
- Optional Embellishments: Consider adding glitter, sequins, or patches to enhance the design.
When selecting materials, it’s important to prioritize quality over cost. High-quality fabric paints and durable shirts will ensure your DIY Tigger shirt remains vibrant and intact after repeated wear and washing. Additionally, don’t forget to prepare your workspace with a protective covering to prevent spills and stains. With the right materials in hand, you’re ready to embark on your creative journey!
How to Design Your DIY Tigger Shirt?
Designing your DIY Tigger shirt is where the magic happens. This is your chance to let your creativity shine and bring Tigger’s playful spirit to life. Whether you’re a seasoned artist or a beginner, the key is to plan your design carefully and experiment with different ideas. Here’s how to approach the design process:
Read also:Unveiling The Magic The Andy Griffith Show Behind The Scenes
Choosing the Right Template
Templates are a great starting point, especially if you’re new to crafting. You can find free Tigger templates online or create your own by sketching a simple outline of Tigger’s face or stripes. Once you’ve chosen a template, trace it onto your shirt using a fabric pencil or chalk. This will serve as a guide for painting or applying your design. Remember, the template doesn’t have to be perfect—it’s just a foundation for your creativity.
Adding Personal Touches
While Tigger’s iconic orange and black stripes are a must, don’t be afraid to add your own flair. Consider incorporating elements that reflect your personality, such as favorite colors, patterns, or even quotes from the Winnie the Pooh series. For example, you could add a small heart or star near Tigger’s tail for a whimsical touch. Personalizing your DIY Tigger shirt ensures it’s one-of-a-kind and truly special.
Experiment with different techniques, such as layering colors or using stencils to create texture. If you’re feeling adventurous, try combining paint with fabric markers for a mixed-media effect. The possibilities are endless, so don’t be afraid to think outside the box and make the design your own.
Step-by-Step Guide to Making Your DIY Tigger Shirt
Now that you’ve gathered your materials and planned your design, it’s time to bring your DIY Tigger shirt to life. Follow these step-by-step instructions to ensure a smooth and successful crafting process:
- Prepare Your Workspace: Lay down a protective covering to prevent spills and stains. Place your shirt on a flat surface or use a shirt board to keep it taut.
- Trace Your Template: Use a fabric pencil or chalk to lightly trace your chosen template onto the shirt. This will serve as a guide for painting or applying your design.
- Apply Fabric Paint: Using brushes or sponges, carefully apply fabric paint to fill in the design. Start with light layers and build up the color gradually for a professional finish.
- Add Details: Once the base colors are dry, use fabric markers or a fine brush to add intricate details, such as Tigger’s whiskers or facial features.
- Set the Design: Use a heat gun or iron to set the paint according to the manufacturer’s instructions. This step is crucial for ensuring the design remains vibrant and durable.
- Optional Embellishments: If desired, add glitter, sequins, or patches to enhance the design. Secure them with fabric glue or stitching.
Remember to take your time and enjoy the process. Crafting a DIY Tigger shirt is not just about the end result—it’s about the joy of creating something with your own hands. With patience and attention to detail, you’ll have a stunning Tigger shirt to show off!
What Are the Best Techniques for a Professional Finish?
Achieving a professional finish on your DIY Tigger shirt requires a combination of technique and attention to detail. Here are some expert tips to help you elevate your design:
- Layering Colors: Start with lighter colors and gradually add darker shades to create depth and dimension.
- Using Stencils: Stencils can help you achieve clean, precise lines, especially for intricate details like Tigger’s stripes.
- Blending Techniques: Use sponges or brushes to blend colors seamlessly, creating a more polished look.
- Heat Setting: Always set your design with a heat gun or iron to ensure it withstands multiple washes.
By incorporating these techniques, you’ll create a DIY Tigger shirt that looks store-bought while maintaining the personal touch that makes it special.
Can You Customize Your DIY Tigger Shirt for Different Occasions?
Absolutely! One of the best things about a DIY Tigger shirt is its versatility. Whether you’re dressing up for a themed party, gifting it to a loved one, or simply adding a playful touch to your everyday wardrobe, there are countless ways to customize your design. For example, you could create a holiday-themed Tigger shirt by incorporating festive colors or patterns. Alternatively, you could design a minimalist version for a more subtle look.
How to Care for Your DIY Tigger Shirt?
To ensure your DIY Tigger shirt stays vibrant and intact, proper care is essential. Always wash it inside out on a gentle cycle and avoid using bleach or harsh detergents. Air drying is recommended to prevent fading or damage. With the right care, your Tigger shirt will remain a cherished piece of your wardrobe for years to come.
Frequently Asked Questions About DIY Tigger Shirts
What’s the Best Fabric Paint for a DIY Tigger Shirt?
Look for high-quality fabric paints that are specifically designed for textiles. Brands like Tulip or DecoArt are excellent choices.
Can I Use a Cricut Machine for My DIY Tigger Shirt?
Yes! A Cricut machine is a great tool for cutting intricate designs and applying iron-on transfers.
How Do I Fix Mistakes on My DIY Tigger Shirt?
If you make a mistake, use a damp cloth to gently blot the area before the paint dries. For dried paint, carefully scrape it off with a fabric-safe tool.
Creating a DIY Tigger shirt is a fun, rewarding, and creative project that allows you to express your love for this iconic character. With the right materials, techniques, and a bit of imagination, you can craft a shirt that’s as unique as you are. So why wait? Start your DIY Tigger shirt adventure