Revamping your kitchen doesn’t have to be a daunting task. Wrapping kitchen cupboards offers a budget-friendly, quick, and transformative solution to give your space a fresh new look. Whether you're tired of outdated designs or want to experiment with bold colors and textures, this method is a game-changer. With just a few tools and materials, you can breathe new life into your kitchen without the hassle of a full renovation. This guide will walk you through everything you need to know about how to wrap kitchen cupboards effectively, ensuring a professional finish that lasts.
From choosing the right materials to mastering the application process, wrapping kitchen cupboards is an art that anyone can master. It’s not just about aesthetics; it’s also about protecting your cabinetry from wear and tear while adding a personal touch. In this article, we’ll cover the step-by-step process, explore common mistakes to avoid, and provide expert tips to ensure your project turns out flawless. By the end, you'll have all the tools and knowledge you need to transform your kitchen into a stylish and functional space.
Before diving into the specifics, it’s important to understand why this method has gained popularity among DIY enthusiasts and homeowners alike. Wrapping your cupboards is not only cost-effective but also eco-friendly, as it reduces the need for replacing entire units. Plus, the variety of materials available—from vinyl to self-adhesive films—means you can customize your kitchen to match your unique style. Let’s explore how you can achieve this transformation seamlessly.
Read also:Unveiling The Legacy The Iconic Cast Of Matrix And Its Enduring Impact
Table of Contents
- Why Wrap Kitchen Cupboards? Benefits and Advantages
- How to Choose the Right Materials for Wrapping Kitchen Cupboards
- Step-by-Step Guide: How to Wrap Kitchen Cupboards
- Common Mistakes to Avoid When Wrapping Kitchen Cupboards
- Can You Wrap Kitchen Cupboards Yourself? Tips for Beginners
- What Tools and Supplies Do You Need to Wrap Kitchen Cupboards?
- How to Maintain and Care for Wrapped Kitchen Cupboards
- Frequently Asked Questions About Wrapping Kitchen Cupboards
Why Wrap Kitchen Cupboards? Benefits and Advantages
Wrapping kitchen cupboards is an increasingly popular home improvement technique, and for good reason. It offers a host of benefits that make it an attractive option for homeowners looking to refresh their kitchens without breaking the bank. One of the most significant advantages is its cost-effectiveness. Compared to replacing entire cabinetry, wrapping is a fraction of the cost while still delivering a high-impact transformation. This makes it an ideal solution for those on a tight budget or renters who want to personalize their space without permanent changes.
Another key benefit is the versatility it provides. With a wide range of materials, colors, and textures available, you can tailor your kitchen to suit your personal style. Whether you’re aiming for a sleek, modern look with glossy finishes or a rustic vibe with woodgrain patterns, there’s a wrapping material to match your vision. Additionally, wrapping your cupboards can enhance their durability. High-quality films and vinyl wraps act as a protective layer, shielding your cabinets from scratches, stains, and moisture damage. This not only extends the lifespan of your cabinetry but also keeps it looking pristine for longer.
Finally, wrapping kitchen cupboards is an eco-friendly alternative to full replacements. By reusing your existing cabinetry, you reduce waste and minimize your environmental footprint. It’s a sustainable choice that aligns with the growing trend of conscious consumerism. Plus, the process is relatively quick and straightforward, allowing you to enjoy your revamped kitchen in no time. Whether you’re a seasoned DIY enthusiast or a beginner, this method offers a rewarding way to upgrade your space with minimal effort.
How to Choose the Right Materials for Wrapping Kitchen Cupboards
Choosing the right materials is crucial to achieving a successful and long-lasting result when wrapping kitchen cupboards. The market offers a variety of options, each with its own unique characteristics. Vinyl wraps are among the most popular choices due to their durability, flexibility, and wide range of designs. They are resistant to moisture and scratches, making them ideal for kitchen environments. For a more premium look, self-adhesive films with 3D textures or metallic finishes can add a touch of elegance to your space.
When selecting materials, consider the style and functionality you want to achieve. If you’re aiming for a minimalist aesthetic, opt for matte or satin finishes that provide a sleek, understated look. On the other hand, glossy wraps can create a bold statement and reflect light, making your kitchen appear brighter and more spacious. It’s also important to evaluate the adhesive quality of the material. High-quality adhesives ensure the wrap stays firmly in place without bubbling or peeling over time.
What Factors Should You Consider When Selecting Wrapping Materials?
Several factors should influence your decision when choosing materials for wrapping kitchen cupboards. First, consider the condition of your existing cabinetry. If the surface is uneven or has imperfections, you may need a thicker wrap to smooth out the appearance. Second, think about the level of maintenance you’re willing to commit to. Some materials, like high-gloss vinyl, require regular cleaning to maintain their shine, while matte finishes are more forgiving and easier to care for.
Read also:Why Everyone Loves Krabby Patties U Like Krabby Patties Dont U Squidward
Another important consideration is the kitchen’s usage. For high-traffic areas or households with children, durable and scratch-resistant materials are essential. Additionally, ensure the wrap you choose is compatible with the type of surface you’re working with. For example, wood, laminate, and metal surfaces may require different adhesives or preparation steps. By carefully evaluating these factors, you can select the perfect material that aligns with your needs and preferences.
Where Can You Find High-Quality Wrapping Materials?
High-quality wrapping materials can be sourced from reputable home improvement stores, online retailers, and specialty suppliers. Brands like 3M and Renolit are known for their durable and visually appealing wraps. When shopping online, read customer reviews and check product specifications to ensure you’re getting a reliable product. Many suppliers also offer sample swatches, allowing you to test the material’s texture, color, and adhesive quality before making a purchase.
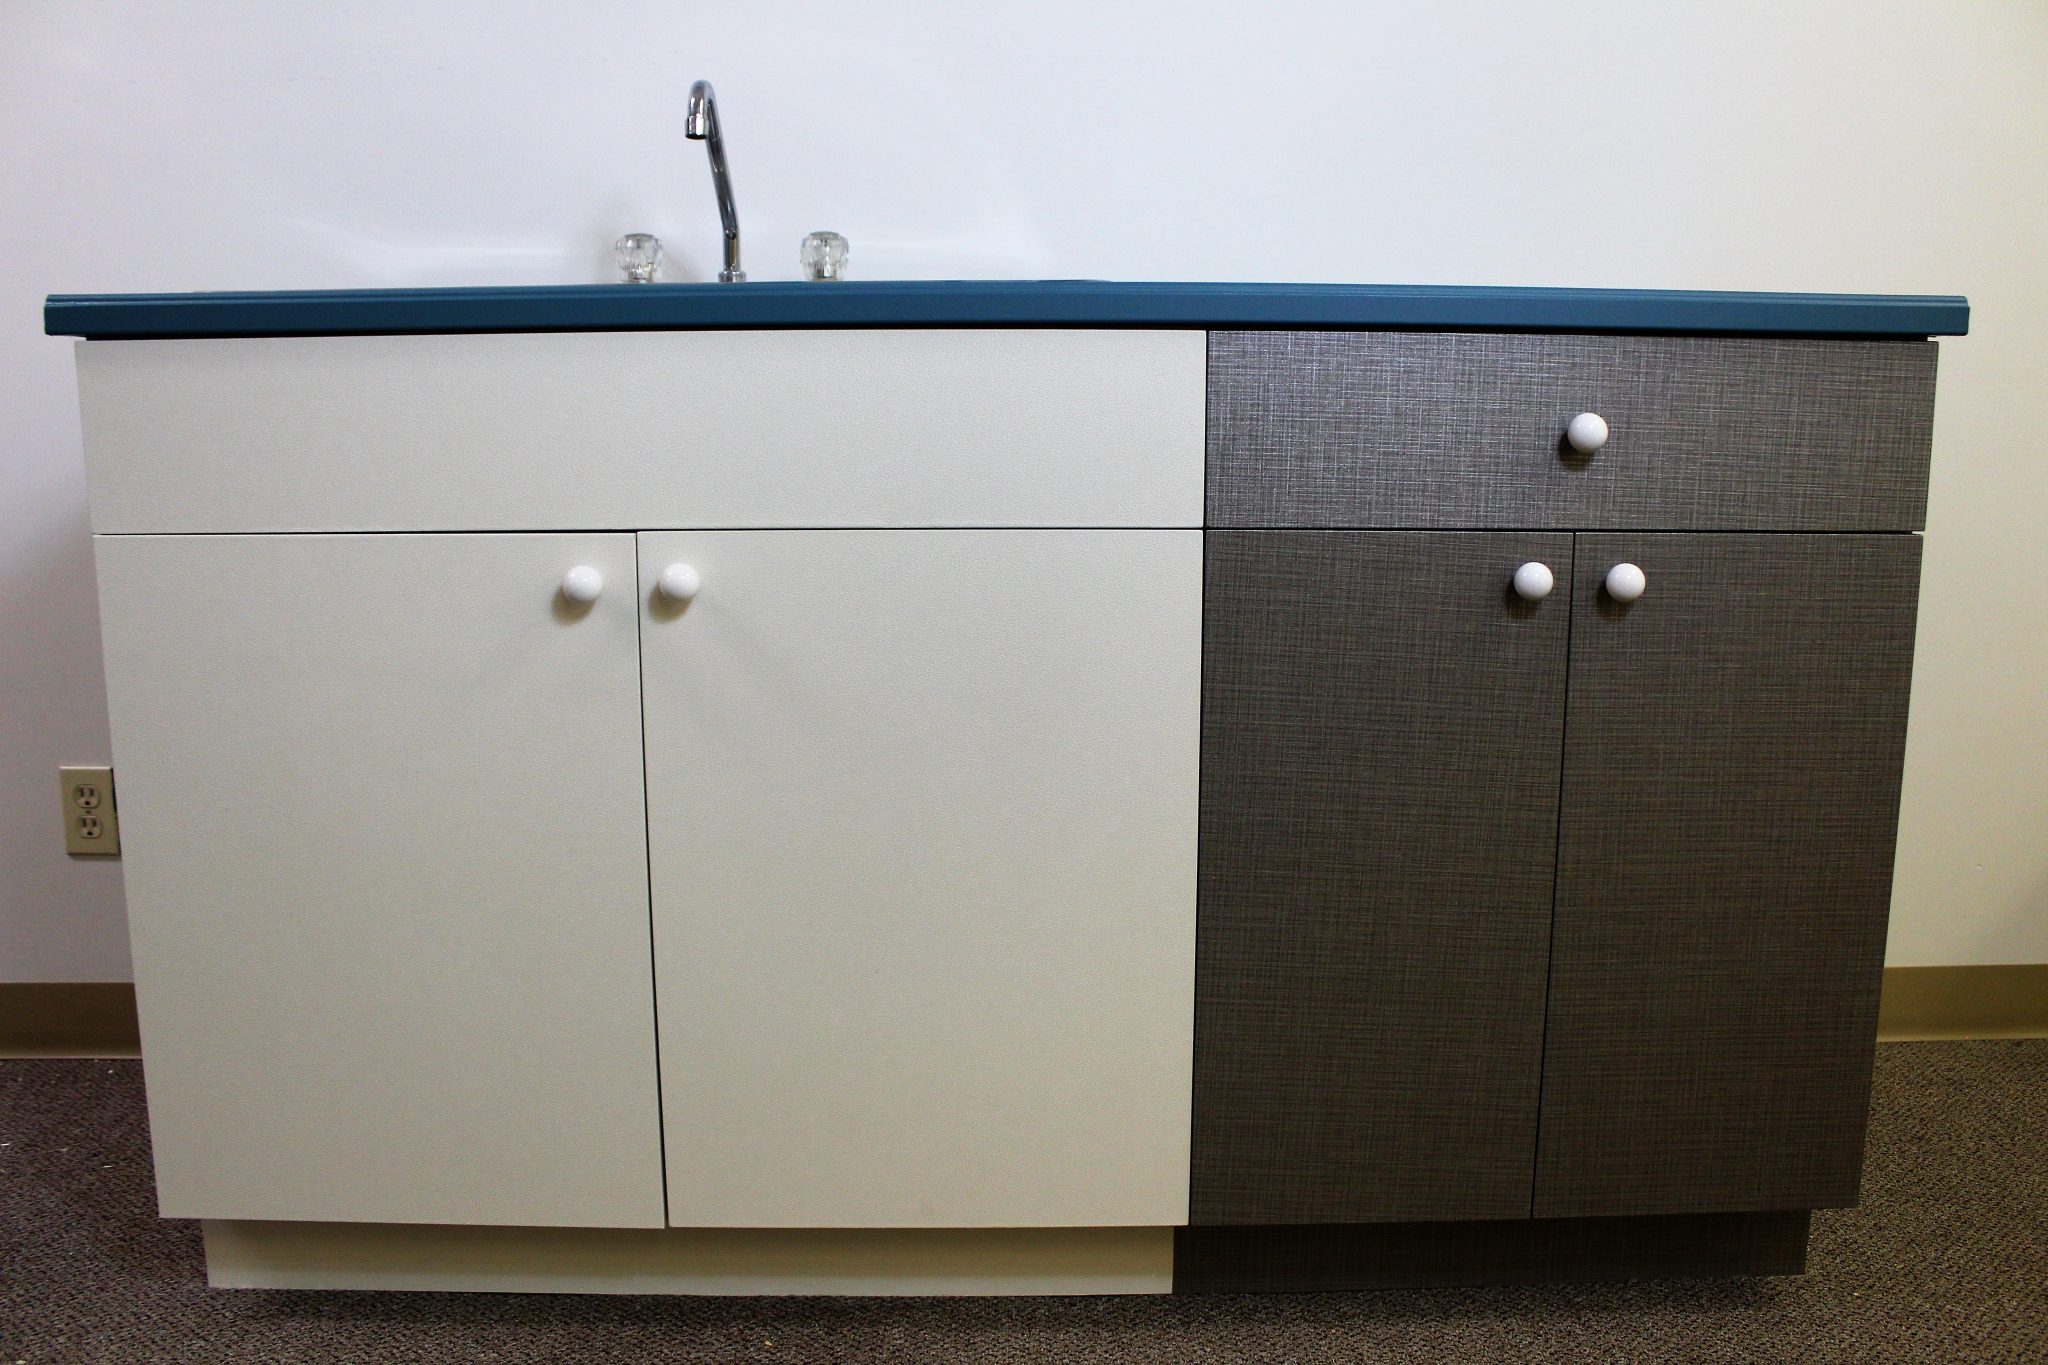
Step-by-Step Guide: How to Wrap Kitchen Cupboards
Now that you’ve chosen the perfect materials, it’s time to dive into the process of wrapping your kitchen cupboards. Follow this step-by-step guide to ensure a smooth and professional-looking finish.
Step 1: Prepare the Surface
Proper preparation is the foundation of a successful wrapping project. Start by removing the cupboard doors and drawers, labeling them to ensure they go back in the correct positions. Use a screwdriver to detach the hardware, such as handles and knobs, and set them aside. Next, clean the surfaces thoroughly with a mild detergent and water solution to remove grease, dust, and grime. Allow the surfaces to dry completely before proceeding.
Once dry, lightly sand the surfaces with fine-grit sandpaper to create a smooth base for the adhesive. Wipe away any dust with a damp cloth and let it dry again. If there are any imperfections, such as cracks or holes, fill them with wood filler and sand them down once dry. This step ensures the wrap adheres evenly and looks flawless.
Step 2: Measure and Cut the Wrap
Measure each cupboard door and drawer front carefully, adding an extra inch on all sides to allow for trimming. Use a sharp utility knife or scissors to cut the wrapping material to size. It’s better to cut slightly larger than needed, as you can always trim the excess later. Lay the wrap flat on a clean surface to avoid creases or bubbles.
How Do You Ensure Accurate Measurements?
Accuracy is key when measuring and cutting the wrap. Use a metal ruler or measuring tape for precision, and double-check your measurements before making any cuts. If you’re working with intricate designs or patterns, ensure they align properly before applying the wrap. This extra attention to detail will pay off in the final result.
Step 3: Apply the Wrap
Begin by peeling back a small section of the adhesive backing and carefully aligning the wrap with the edge of the cupboard. Use a squeegee or a credit card to smooth out the material as you go, working from the center outward to eliminate air bubbles. Once the wrap is fully applied, trim the excess material with a utility knife, ensuring a clean and precise edge.
Repeat this process for each door and drawer, taking your time to achieve a seamless finish. Reattach the hardware and reinstall the doors and drawers once the wrap has set. With these steps, you’ll have beautifully wrapped kitchen cupboards that look professionally done.
Common Mistakes to Avoid When Wrapping Kitchen Cupboards
Even with the best intentions, mistakes can happen when wrapping kitchen cupboards. Being aware of these common pitfalls can help you avoid them and ensure a flawless result. One frequent error is skipping the surface preparation step. Failing to clean and sand the surfaces properly can lead to poor adhesion, causing the wrap to peel or bubble over time. Always take the time to prepare the surface thoroughly, as it sets the stage for a successful application.
Another mistake is rushing the process. Wrapping requires patience and attention to detail, especially when aligning patterns or smoothing out air bubbles. Trying to complete the project too quickly can result in uneven edges, visible seams, or creases. Take your time and work methodically to achieve a professional finish. Additionally, avoid using low-quality materials, as they may not adhere well or withstand daily wear and tear. Investing in high-quality wraps ensures durability and a more polished appearance.
What Are the Signs of Poorly Applied Wraps?
Poorly applied wraps often exhibit telltale signs, such as bubbling, peeling edges, or misaligned patterns. These issues not only detract from the aesthetic appeal but also compromise the wrap’s longevity. To prevent these problems, ensure the adhesive is evenly distributed and apply gentle, consistent pressure during installation. If you notice any imperfections, address them immediately by lifting the wrap slightly and reapplying it.
Can You Wrap Kitchen Cupboards Yourself? Tips for Beginners
Wrapping kitchen cupboards is a project that even beginners can tackle with the right guidance and tools. While it may seem intimidating at first, breaking the process into manageable steps makes it much more approachable. Start by gathering all the necessary supplies, including the wrapping material, measuring tools, and application tools like a squeegee. Having everything ready beforehand will streamline the process and reduce stress.
For beginners, it’s helpful to practice on a small, inconspicuous area before tackling the entire kitchen. This allows you to get a feel for the material and refine your technique. Additionally, watch tutorial videos or read step-by-step guides to familiarize yourself with the process. Don’t be afraid to ask for help or seek advice from experienced DIYers. With a bit of practice and patience, you’ll be able to wrap your kitchen cupboards like a pro.
What Tools and Supplies Do You Need to Wrap Kitchen Cupboards?
To successfully wrap kitchen cupboards, you’ll need a few essential tools and supplies. These include:
- Wrapping material (vinyl, self-adhesive film, etc.)
- Measuring tape or ruler
- Utility knife or scissors
- Screwdriver for removing hardware
- Squeegee or credit card for smoothing
- Sandpaper for surface preparation
- Cleaning supplies (mild detergent, cloth)
Having the right tools on hand ensures a smooth and efficient process, allowing you to focus on achieving the best possible results.
How to Maintain and Care for Wrapped Kitchen Cupboards
Proper maintenance is key to extending the lifespan of your wrapped kitchen cupboards. Regular cleaning with a soft, damp cloth will keep them looking fresh and vibrant. Avoid using abrasive cleaners or harsh chemicals, as they can damage the wrap’s surface. For stubborn stains, use a mild soap solution and gently wipe the area.
Additionally, be mindful of sharp objects and excessive heat, as they can compromise the wrap’s integrity. With proper care, your wrapped cupboards can maintain their beauty and functionality for years to come.
Frequently Asked Questions About Wrapping Kitchen Cupboards
How Long Does Wrapped Kitchen Cupboards Last?
With proper care, wrapped kitchen cupboards can last up to 5-10 years, depending on the quality of the material and the level of usage.
Can You Remove Wraps Without Damaging the Surface?
Yes,