Whether you're dressing up for Halloween, attending a themed party, or simply looking for a unique DIY project, crafting your own devil tail adds a personal touch to your ensemble. Devil tails are versatile accessories that can be customized to suit your style, and making one from scratch is easier than you might think. With a few basic materials and some creativity, you can bring your devilish vision to life. In this article, we’ll guide you through the entire process of making a DIY devil tail, from selecting the right materials to adding the finishing touches. We’ll also explore variations of devil tails, tips for customizing your design, and answers to common questions about this project. Whether you’re a seasoned crafter or a beginner, this guide is designed to help you achieve professional-looking results. By the end of this article, you’ll have the knowledge and confidence to create a devil tail that’s uniquely yours. Let’s dive into the world of DIY devil tails and uncover everything you need to know to get started. From step-by-step instructions to creative ideas for personalization, this guide has been crafted to ensure your project is both enjoyable and successful. So, grab your materials, unleash your creativity, and let’s get crafting!
Table of Contents
- What is a DIY Devil Tail and Why Should You Make One?
- What Materials Do You Need for Your DIY Devil Tail?
- Step-by-Step Guide to Making a Devil Tail
- Creative Customization Ideas for Your Devil Tail
- How to Attach Your Devil Tail to Your Costume?
- What Are the Common Mistakes to Avoid When Making a Devil Tail?
- Exploring Variations of Devil Tails for Different Themes
- Frequently Asked Questions About DIY Devil Tails
What is a DIY Devil Tail and Why Should You Make One?
A DIY devil tail is a creative accessory often used in costumes, cosplay, or themed events to add a playful or edgy touch to your outfit. It’s a small, tail-like extension that mimics the appearance of a devil’s tail, typically featuring a pointed or curved design. Devil tails are popular for Halloween costumes, theatrical performances, or even as props for photography. Making your own devil tail allows you to customize its size, shape, and style to perfectly match your vision. There are several reasons why crafting a DIY devil tail is worth your time. First, it’s an affordable alternative to store-bought tails, which can sometimes be expensive or lack the unique flair you desire. Second, the process of making a devil tail is a fun and rewarding activity that allows you to express your creativity. Whether you’re designing a sleek, professional-looking tail or a whimsical, over-the-top version, the possibilities are endless. Additionally, creating your own devil tail ensures a perfect fit and comfort level, as you can tailor it to your specific needs. Beyond its practical uses, a DIY devil tail can also serve as a conversation starter or a way to stand out in a crowd. Whether you’re attending a costume party or participating in a cosplay event, a well-crafted devil tail can elevate your overall look and make a lasting impression. By investing time and effort into this project, you’ll not only have a functional accessory but also a piece of art that reflects your personality and craftsmanship.
What Materials Do You Need for Your DIY Devil Tail?
Creating a devil tail requires a few key materials that are easy to find and budget-friendly. To start, you’ll need a sturdy base material to shape the tail. Foam sheets or craft foam are excellent choices because they are lightweight, flexible, and easy to cut. Alternatively, you can use wire or pipe cleaners for a more structured tail. For the outer layer, fabric such as felt, faux fur, or stretchy spandex works well to give your tail a realistic or stylized appearance. In addition to the base and fabric, you’ll need some basic crafting tools. Scissors, a hot glue gun, and sewing supplies like thread and a needle are essential for assembling your devil tail. If you’re planning to add embellishments, consider gathering items like sequins, beads, or fabric paint to personalize your design. For attaching the tail to your costume, elastic bands, Velcro strips, or safety pins can be used depending on your preference.
Read also:Sarpinos Fort Lauderdale A Slice Of Authentic Italian Pizza In The Heart Of Florida
Preparing the Base of Your Devil Tail
The first step in making a devil tail is preparing the base. Start by cutting your foam or wire into a long, tapered shape that resembles a tail. If you’re using foam, you can layer multiple pieces to add thickness and durability. Secure the layers together with hot glue or duct tape. For a more flexible tail, bend the wire into the desired shape and wrap it with tape to create a smooth surface. This step is crucial because the base determines the overall structure and appearance of your tail.
Shaping the Tail for Realism
Once the base is ready, focus on shaping the tail to make it look more realistic. Use your hands to curve the foam or wire into a natural, flowing shape. If you want a pointed tip, trim the end of the tail to create a sharp edge. For added realism, consider adding slight bends or waves to mimic the movement of a real tail. This step ensures that your devil tail looks dynamic and lifelike, enhancing its visual appeal.
Step-by-Step Guide to Making a Devil Tail
Now that you have your materials and base prepared, let’s walk through the process of assembling your devil tail. Begin by covering the base with your chosen fabric. Cut the fabric into a shape slightly larger than the base to allow for wrapping. Use hot glue or sew the fabric onto the base, ensuring it’s securely attached and free of wrinkles. Trim any excess fabric and reinforce the edges with glue or stitching for durability. Next, add details to your devil tail to make it stand out. Use fabric paint or markers to create patterns like scales or stripes. If you’re using faux fur, trim it to create texture and dimension. For a more elaborate design, sew on embellishments like sequins or beads. These details not only enhance the appearance of your tail but also make it uniquely yours.
Creative Customization Ideas for Your Devil Tail
Customizing your devil tail is where the fun truly begins. Here are some ideas to inspire your creativity:
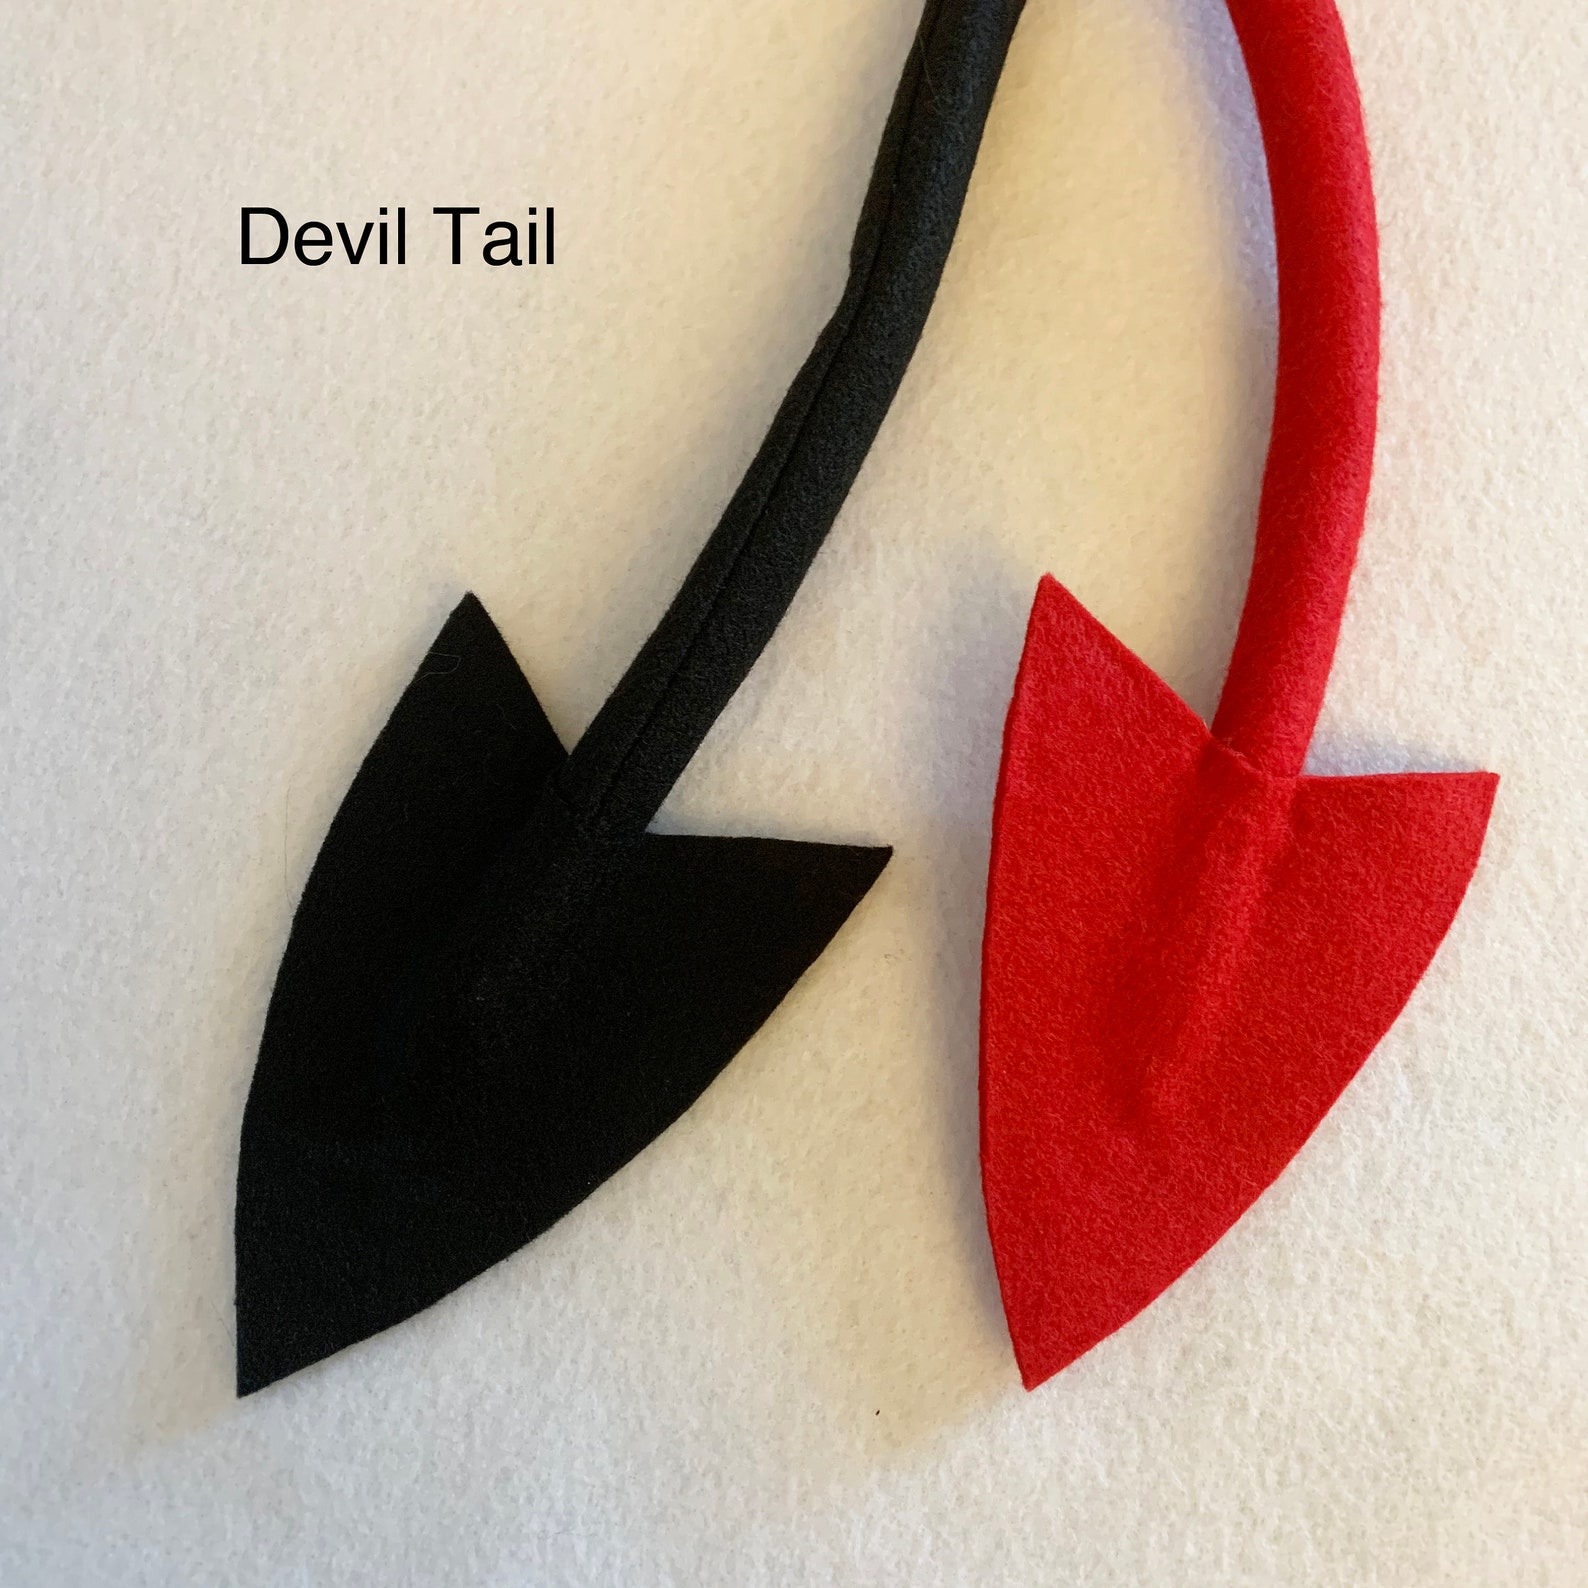
- Color Variations: Experiment with bold colors like red, black, or purple for a classic devilish look, or try unexpected shades like neon green or metallic gold for a modern twist.
- Texture Play: Combine different fabrics, such as smooth satin and fluffy faux fur, to create a visually striking contrast.
- Glow-in-the-Dark Effects: Add glow-in-the-dark paint or LED lights to make your tail shine in the dark.
How to Attach Your Devil Tail to Your Costume?
Attaching your devil tail securely is essential for comfort and mobility. Use elastic bands to create a loop that fits around your waist or hips. Alternatively, sew the tail directly onto your costume for a seamless look. Velcro strips are another option if you want the flexibility to remove the tail easily. Test the attachment method to ensure it stays in place while you move.
What Are the Common Mistakes to Avoid When Making a Devil Tail?
When crafting a devil tail, it’s important to avoid common pitfalls that can affect the final result. One frequent mistake is using materials that are too heavy, which can make the tail uncomfortable to wear. Another issue is neglecting to reinforce the seams, leading to tears or damage. To prevent these problems, choose lightweight materials and double-check your stitching or gluing.
Read also:Stephen A Smiths Daughter Passed Away A Deep Dive Into His Life And Legacy
Exploring Variations of Devil Tails for Different Themes
Devil tails can be adapted to suit various themes and styles. For a fantasy-inspired look, add intricate embroidery or gemstone embellishments. If you’re going for a more playful vibe, incorporate bright colors and whimsical patterns. Each variation allows you to express your personality and creativity while maintaining the devilish charm of the accessory.
Frequently Asked Questions About DIY Devil Tails
How Long Does It Take to Make a DIY Devil Tail?
The time required to make a devil tail depends on the complexity of your design. A basic tail can be completed in a few hours, while more elaborate versions may take a day or two.
Can I Use Recycled Materials for My Devil Tail?
Yes! Recycled materials like old fabric scraps or repurposed foam can be used to create an eco-friendly devil tail.
Is a DIY Devil Tail Suitable for Kids?
Absolutely! With soft materials and child-friendly embellishments, a DIY devil tail can be a fun and safe accessory for kids.
Conclusion
Crafting a DIY devil tail is a rewarding project that combines creativity, skill, and personalization. By following this guide, you can create a unique accessory that enhances your costume or cosplay outfit. Whether you’re a beginner or an experienced crafter, this project offers endless possibilities for customization and fun. So, why wait? Start making your devil tail today and unleash your inner artist!
For more crafting inspiration, check out this resource on creative DIY projects.